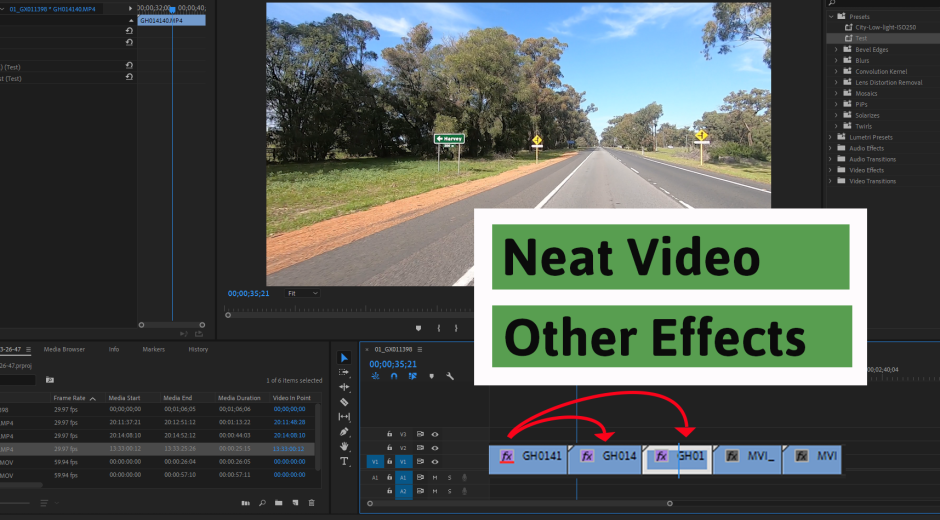
5 easy ways to apply Neat Video and other effects to multiple clips in Premiere Pro
Doesn’t matter if you are a beginner or a pro in video editing, you are likely to have one desire. You want to have your editing done properly and quickly.
For example, when working on a project where you need to apply the same effect or effects to a set of similar clips, you want to do that quickly yet correctly. There are several quicker and slower ways to have it done. Choosing the right way may depend on a specific set of clips. In this article, we will use Neat Video as a sample effect, but these rules work for other effects you may want to be applied to several clips as well.
In the case of applying Neat Video, a lot depends on the noise content of those clips. If you have several clips shot in similar conditions, by the same video camera with the same settings, then the noise in those clips is most likely the same. So if you can quickly add Neat Video with exactly the same noise profile and filter settings to each of those clips, then you can save time on building a noise profile and adjusting the filter settings for each clip individually. Obviously, this will only work well if those clips show the same noise. Otherwise, you would still need to treat them individually for the best noise reduction results.
Let's assume you do work with a set of clips showing the same noise. How can you apply Neat Video to each one of those clips quickly? Adobe Premiere Pro has given us a pretty wide range of tools to apply Neat Video denoiser and other effects to multiple clips. Those tools work differently and may suit one workflow better than the other. Go and check them out!
By the way, the same tools will also work when you need to mass-apply other effects, not only Neat Video.
- Copy and Paste Effect
This is an easy way to apply what you want where you want.
The general idea is to add Neat Video to one clip, configure the filter (build a noise profile and adjust filter settings) for that clip, and then copy and paste the effect from that clip to other clips that need the same noise reduction.
Select a clip where you have already applied and configured Neat Video (built a noise profile and adjusted the filter settings), select the effect ( Reduce Noise v5) in the Effect Controls panel, right-click and choose Copy. Then select the clip/clips you want the effect to be copied to, right-click the Effect Controls panel and select Paste.
OR
Right-click the clip where Neat Video is already applied, choose Copy, then select the other clips you want to have the same effect applied, right-click the selected set of clips and select Paste Attributes… This way you will be copying all the effects (not only Reduce Noise v5).
- Nested Sequence
This tool allows you to group several adjacent clips and then apply an effect to the whole group.
To make a nested sequence select the adjacent clips you want to denoise, right-click and select Nest… Then apply Neat Video’s Reduce Noise v5 to that nested sequence.
- Adjustment Layer
Adjustment Layer is good when you want to apply the same effect to several clips that don’t sit next to each other in the timeline or possibly to the whole timeline.
Create an Adjustment layer, place it over the clips that need to be adjusted and add the noise reduction effect on that Adjustment layer. If you need you can also split the adjustment layer into parts and apply it only over some clips in the timeline.
- Master Clip
If you have a clip that you are chopping into pieces and mixing them up with other clips, then it may be easier to apply noise reduction to the Master clip and in this way make the original clip clean before it is even cut into parts. To do that select any fragment of the clip, go to Effects Controls, select Master * “Name of the clip”, and add all the effects you want to be applied to every segment of that master clip.
- Save and Apply Effect Preset
If you want a single effect or a bunch of them to be saved and easily re-applied later on in your project, possibly to more clips, you can create an Effect Preset for that.
Once you have configured Neat Video and/or other effects you wanted, select the effects in the Effect Controls panel while holding Shift+Ctrl (Cmd), right-click and choose Save Preset… Give it a name, choose a type (Scale, Anchor to In Point, Anchor to Out Point) and write a description (optional, but useful).
When you later want to apply the preset, select the clip (or clips) you want to be affected, go to the Effects panel, click Presets and choose the preset you would like to be applied to the selected clips.