Working with filter settings in the Luminance and Chrominance channels

In the previous articles we discussed how digital noise manifests differently in each channel. We discussed how human visual perception is more sensitive to changes in brightness and less sensitive to the color components of a video – so different noise reduction should be applied to those components. For this reason, Neat Video and Neat Image have separate noise filter controls for the Luminance and Chrominance channels. In this article, we’ll look at how to choose the optimal noise filter settings to achieve results that are pleasing to the human eye.
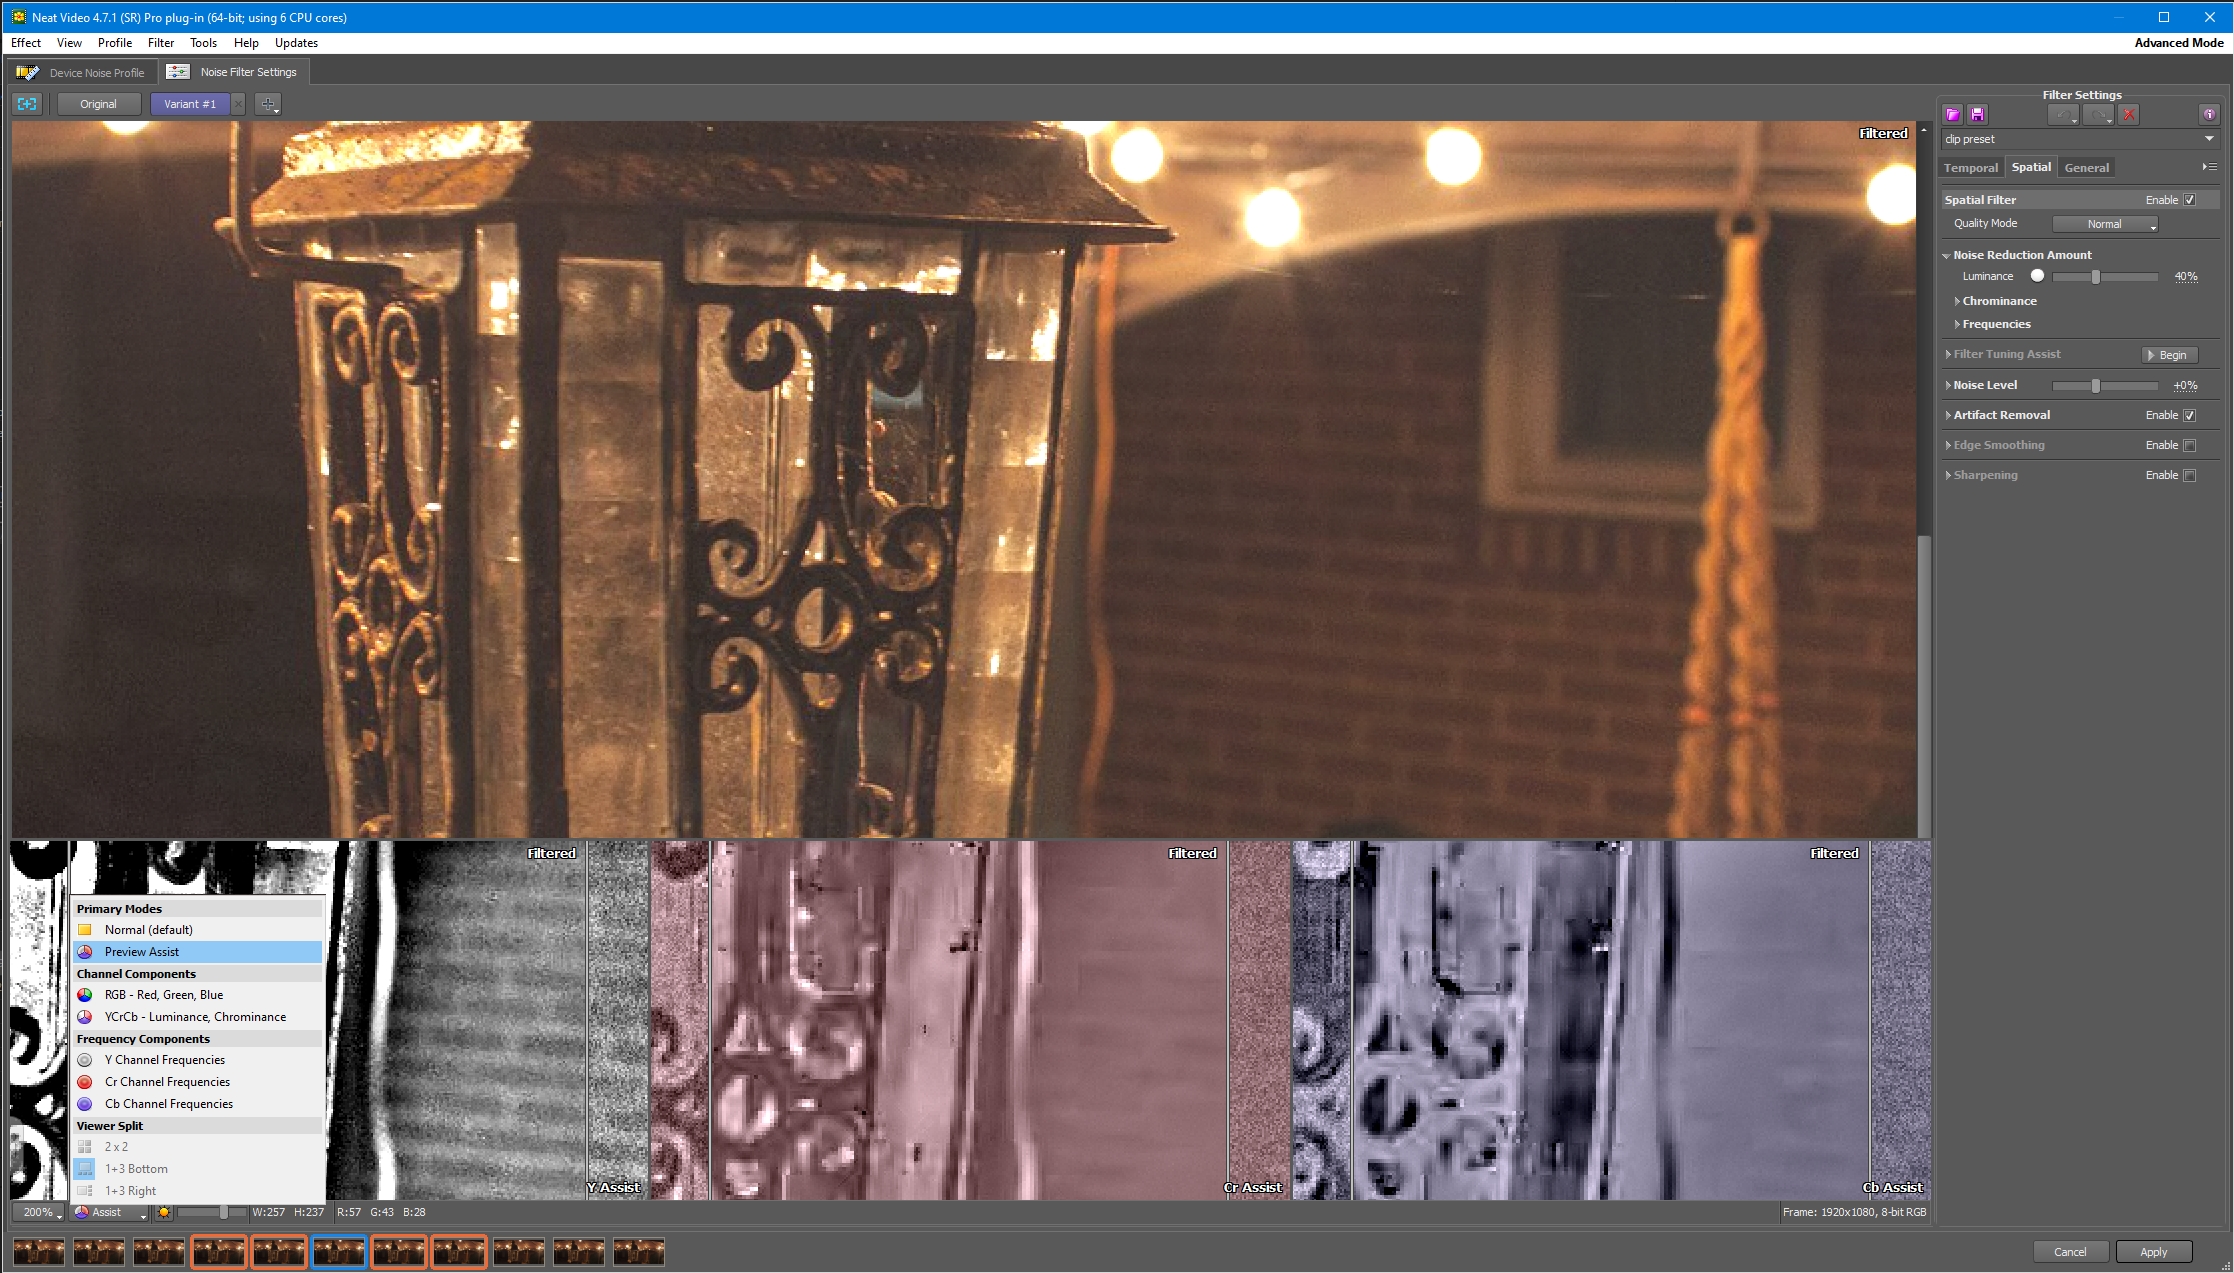
Preview assist
You will be glad to hear that this task is also made easier by having the Preview Assist available on the Noise Filter Settings tab. Preview Assist gives you a window into the different channels to observe the effects of noise reduction in each channel. With it, you can try different filter settings for each channel and visually evaluate the results.
Working with the Luminance channel
Because our eyes are most sensitive to details in Luminance, applying too much noise reduction in this channel is quickly noticeable: it tends to make the footage look overly processed, too smooth or plastic-looking. Ideally, you should try to find a balance between removing a decent amount of noise and retaining the natural appearance of the footage.

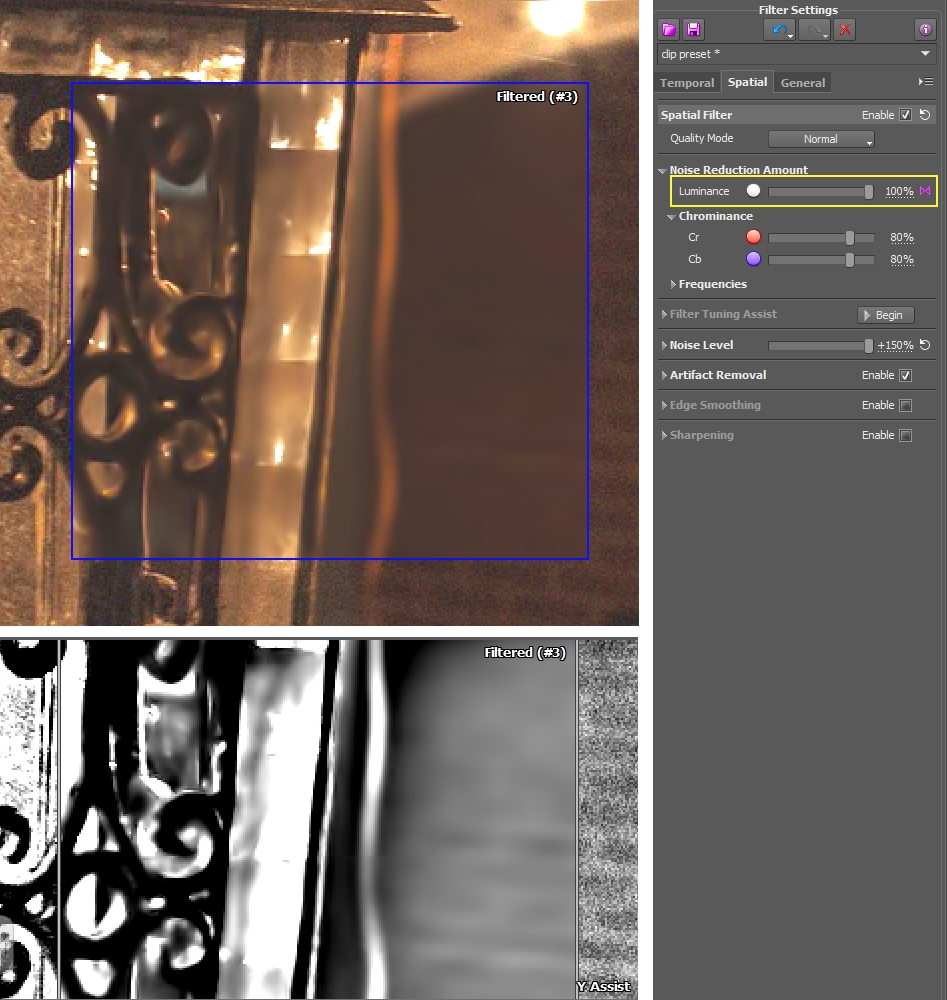
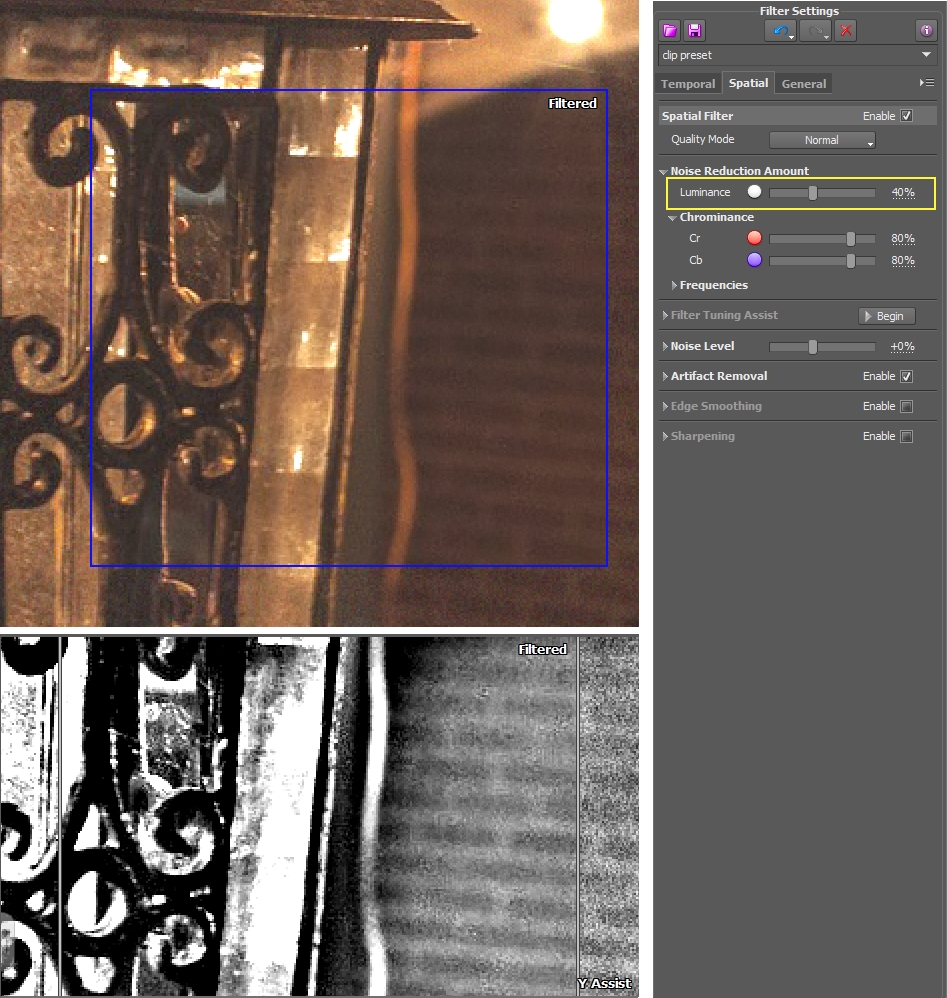
Neat’s default value for the Spatial Filter noise reduction amount in the Luminance channel is 40%. This usually returns good results, however if you want to find a better balance, try to adjust that filter setting to get the result that looks best to your eyes.
Cleaning the Chrominance channels
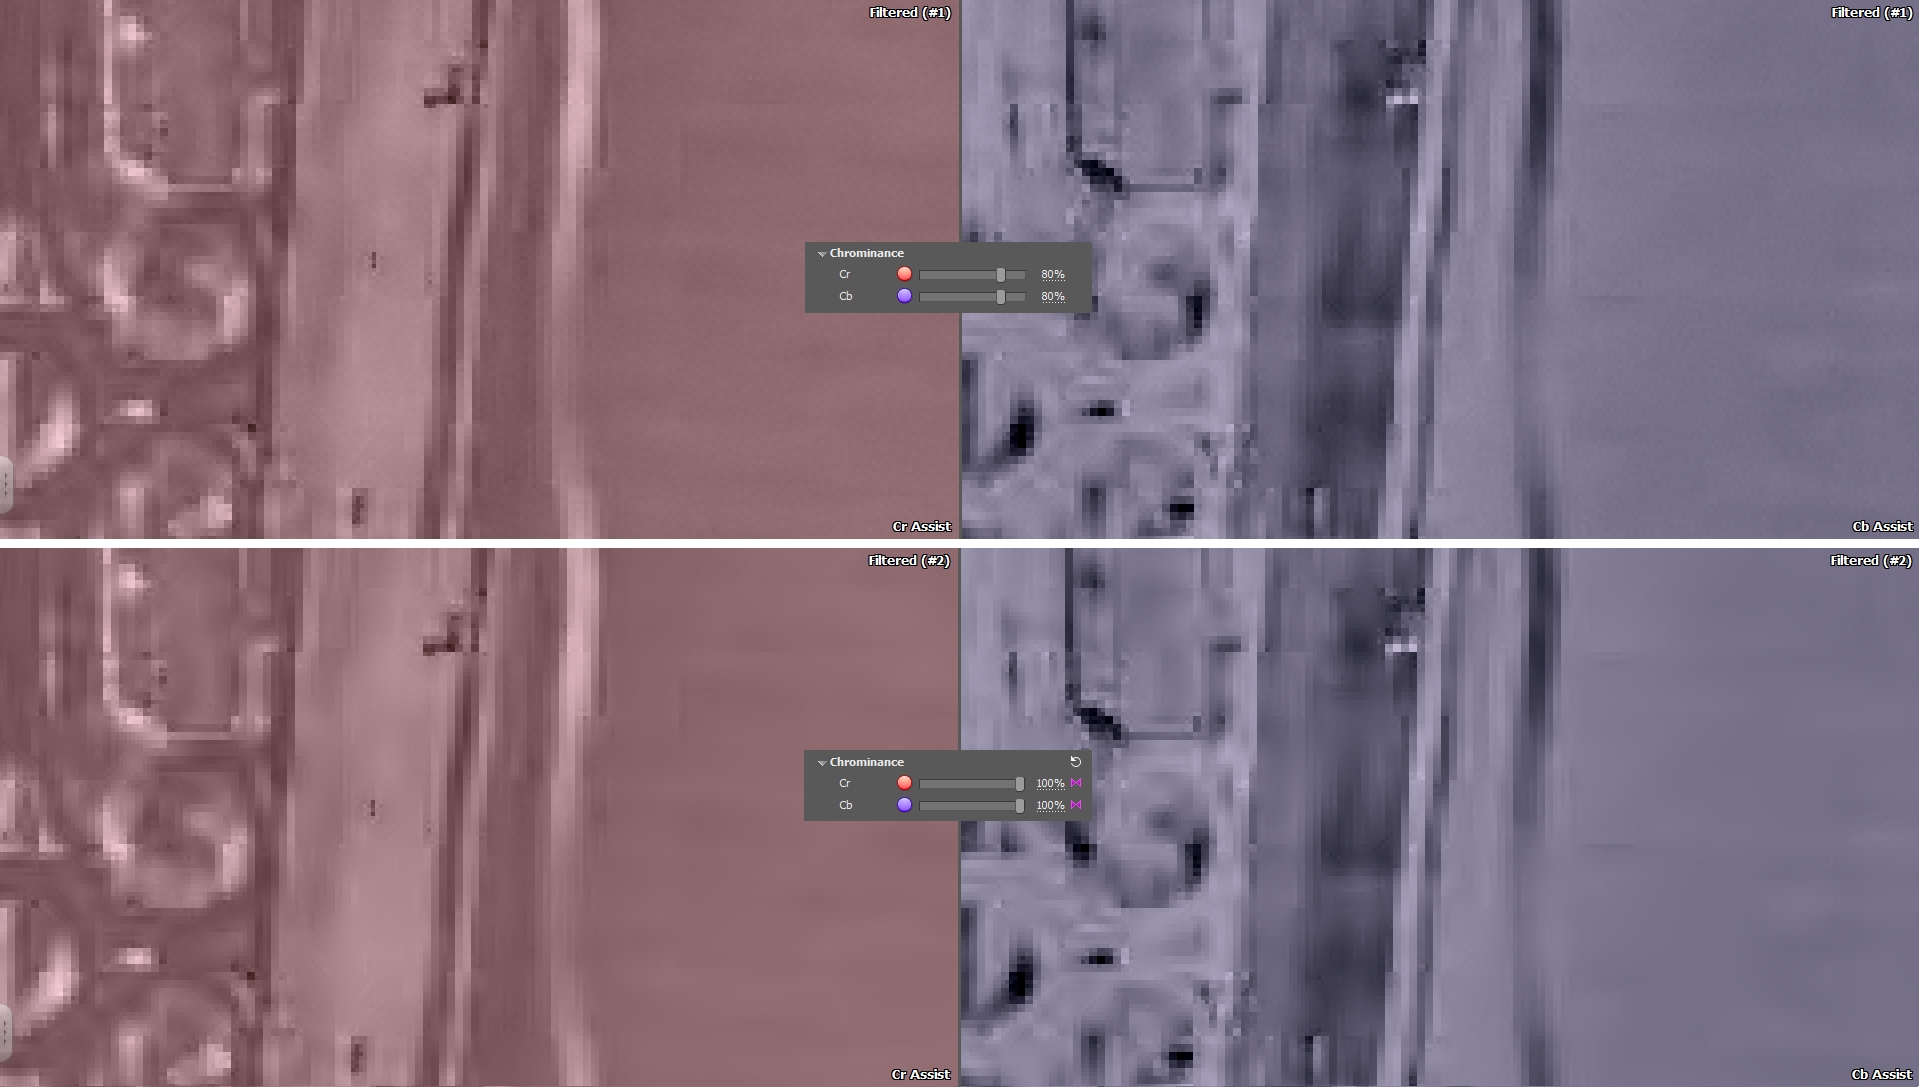
Our eyes are not as sensitive to fine details in Chrominance channels, which means the Spatial Filter can be much more aggressive there. In these channels we are much more concerned with removing the color noise. Retaining fine details is less important. For this reason, the Spatial Filter’s Noise Reduction Amounts can be raised up to 100% without visible deterioration of the image.
Using Preview assist
When changing the filter settings, use the Preview Assist viewer mode to observe the effect of the changes. If there is too much remaining noise in the Chrominance (Cr and Cb) channels, try to adjust the corresponding Noise Levels.

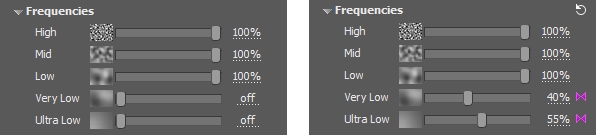
By increasing Noise Levels you will tell the filter that there is more noise to remove. Increase the Noise Levels in the Chrominance channels until all the noise is gone in Cb and Cr previews. If there are large blobs of color noise that are not sufficiently reduced, then also try enabling noise reduction in the Very Low and Ultra Low frequencies.
To sum up
The main thing you should take away from all of this is that our eyes perceive digital noise differently in the Luminance and Chrominance channels and both Neat Image and Neat Video take this into account in its approach to noise reduction. To help you achieve the best results, Neat Video and Neat Image include some great tools and filters that give you visual feedback and individual control over the Luminance and Chrominance channels. Take some time to get familiar with Profile Assist and Preview Assist. These tools are there to help you get as close to perfection as possible. Play around, practice and master the controls and you’ll find it’s easier to achieve velvety, noise-free video time after time.