Learn how to handle banding

When working with video, you’ll occasionally encounter banding. It’s one of the most common visual artifacts affecting both image and video and is characterized by its ‘posterized’ appearance within affected clips. It is most present in footage containing large areas of uniform color with fine gradients (typically sunsets, clear blue skies, walls etc.) and typically occurs when there isn’t enough bit depth or bandwidth to allow for a smooth gradient of color or brightness which then leads to gradient ‘strips’ of color. Banding is most often the result of exporting with a lossy codec, though post-processing with effects such as gaussian blur, median or denoiser filters prior to export can exacerbate this issue and make it all the more apparent in the final render. This article will include some tips and tricks to avoid this occurring within your footage, with examples demonstrating the most common issues and their solutions.
Common causes
Lossy codecs
One of the most common causes of banding in video is lossy codecs used to compress video. Therefore, minimizing the compression ratio when exporting video will reduce or eliminate the stepping within the image.
Removing noise that masks banding
It is important to note that noise removal does not create banding but can reveal banding if already present in an image. Noise can often mask pre-existing banding and therefore in using a noise reduction filter or effects such as Gaussian Blur, this banding will be unmasked and reveal underlying banding within the user’s video.
LUTs
You may too encounter banding whilst grading your footage, particularly when working with LUT’s (Look Up Tables). The 3D LUT’s that are often used for grading, especially 17x17x17 LUTS, divide the full video range into segments. A slightly different correction is then applied to each of these segments, occasionally resulting in banding.
Three different points where banding can be spotted
You can encounter banding at various stages of the video editing process:
- Video editing application’s viewer
- In an exported clip when played in a player such as QuickTime
- In an external resource such as a streaming service.
If you encounter banding when previewing your footage in your video editing software, you’ll need to take various precautions during the post-production process and potentially apply the techniques discussed later in this article. It’s worth noting that if the workflow requires exchanging intermediate video files with colleagues, it is advisable to use an intermediate codec instead of a final codec.
This then takes us to the second stage, viewing a clip in a player such as QuickTime. In some cases, you may successfully reduce banding in export but still encounter it in a media player. If banding occurs in a specific player such as QuickTime, which is prone to inaccurate reproduction of fine gradients, it would be advisable to switch to a higher quality player such as VLC player.
The same applies to the final stage: an external resource such as a streaming service. Banding may not even appear present until uploading the final export to a streaming service such as YouTube which further compresses your export, which would suggest using a platform that applies a higher quality video compression such as Vimeo. Ultimately, it is advisable to take proper precautions prior to export to minimize any unnecessary banding where possible in later stages of the process.
Our particular test example will be reviewed based on the second stage: on exported clips played via a media player (in this case VLC).
Example
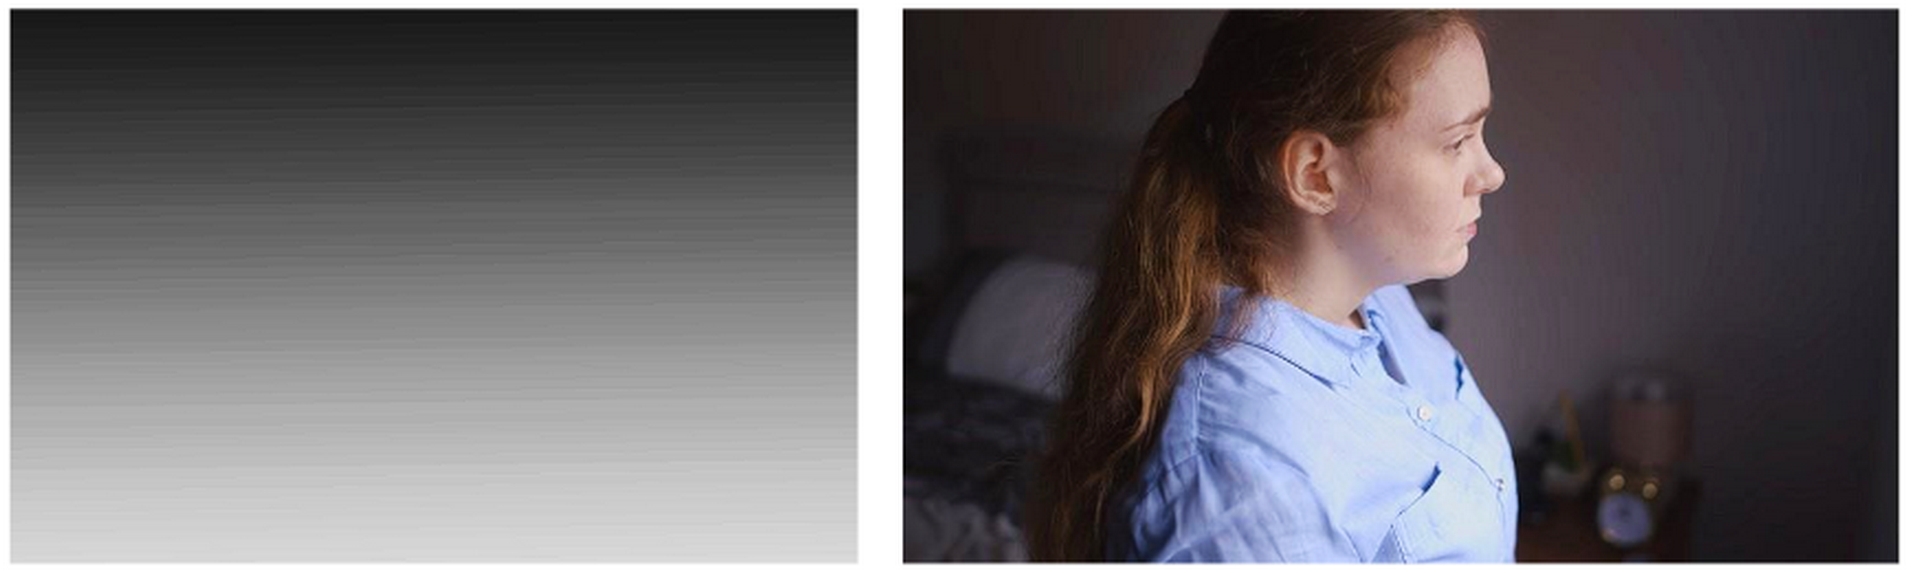
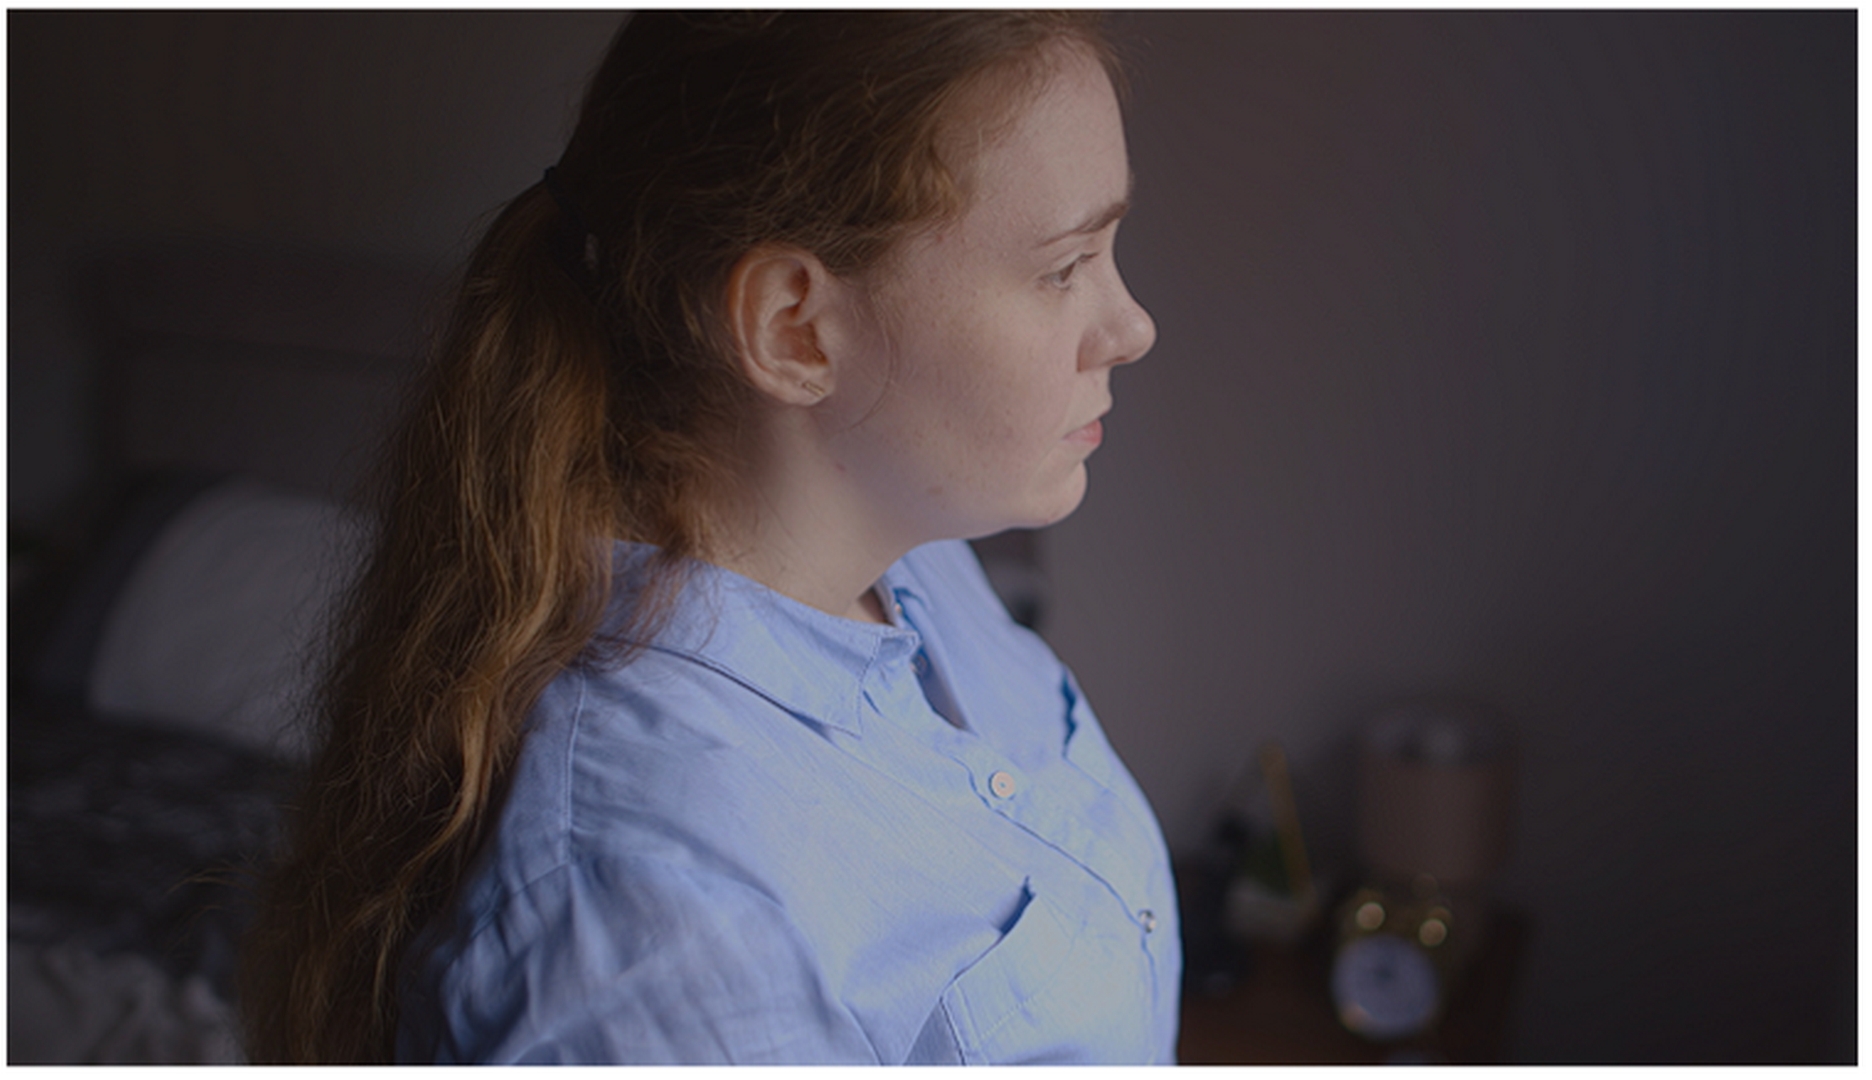
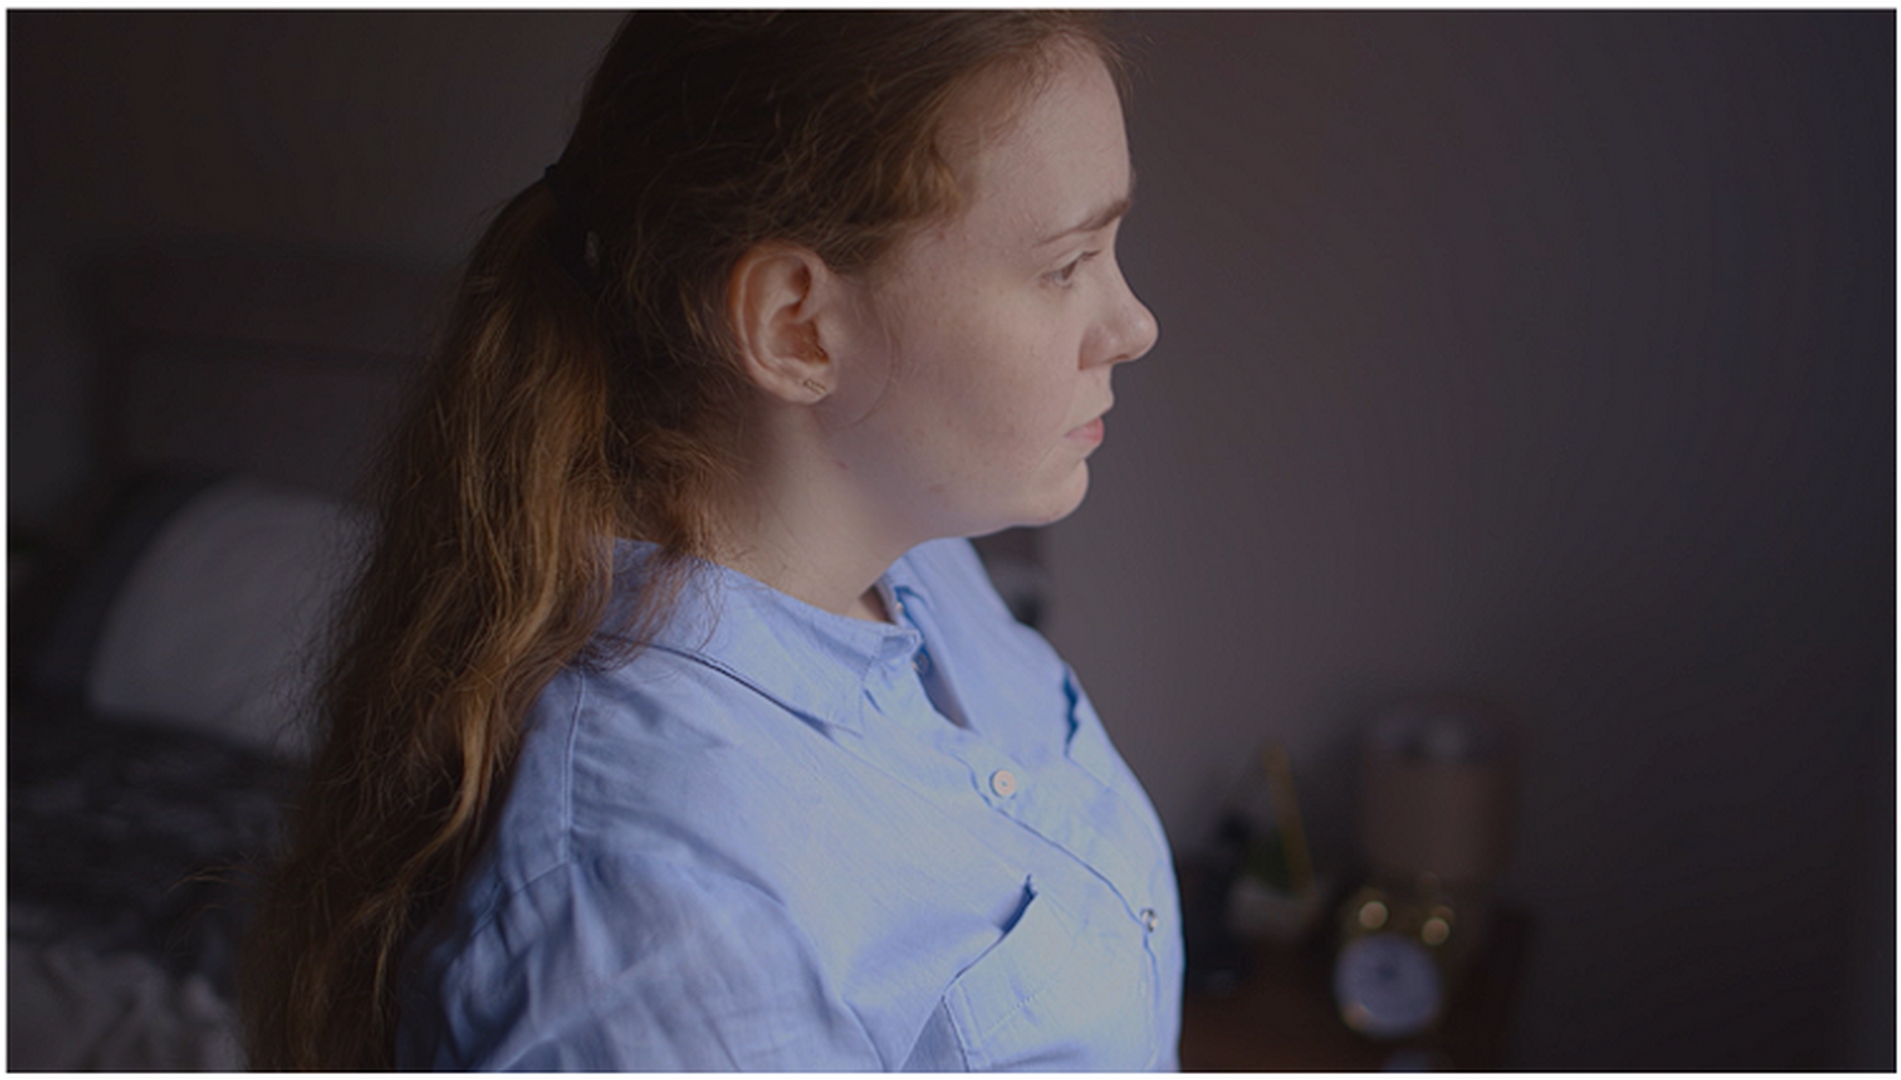
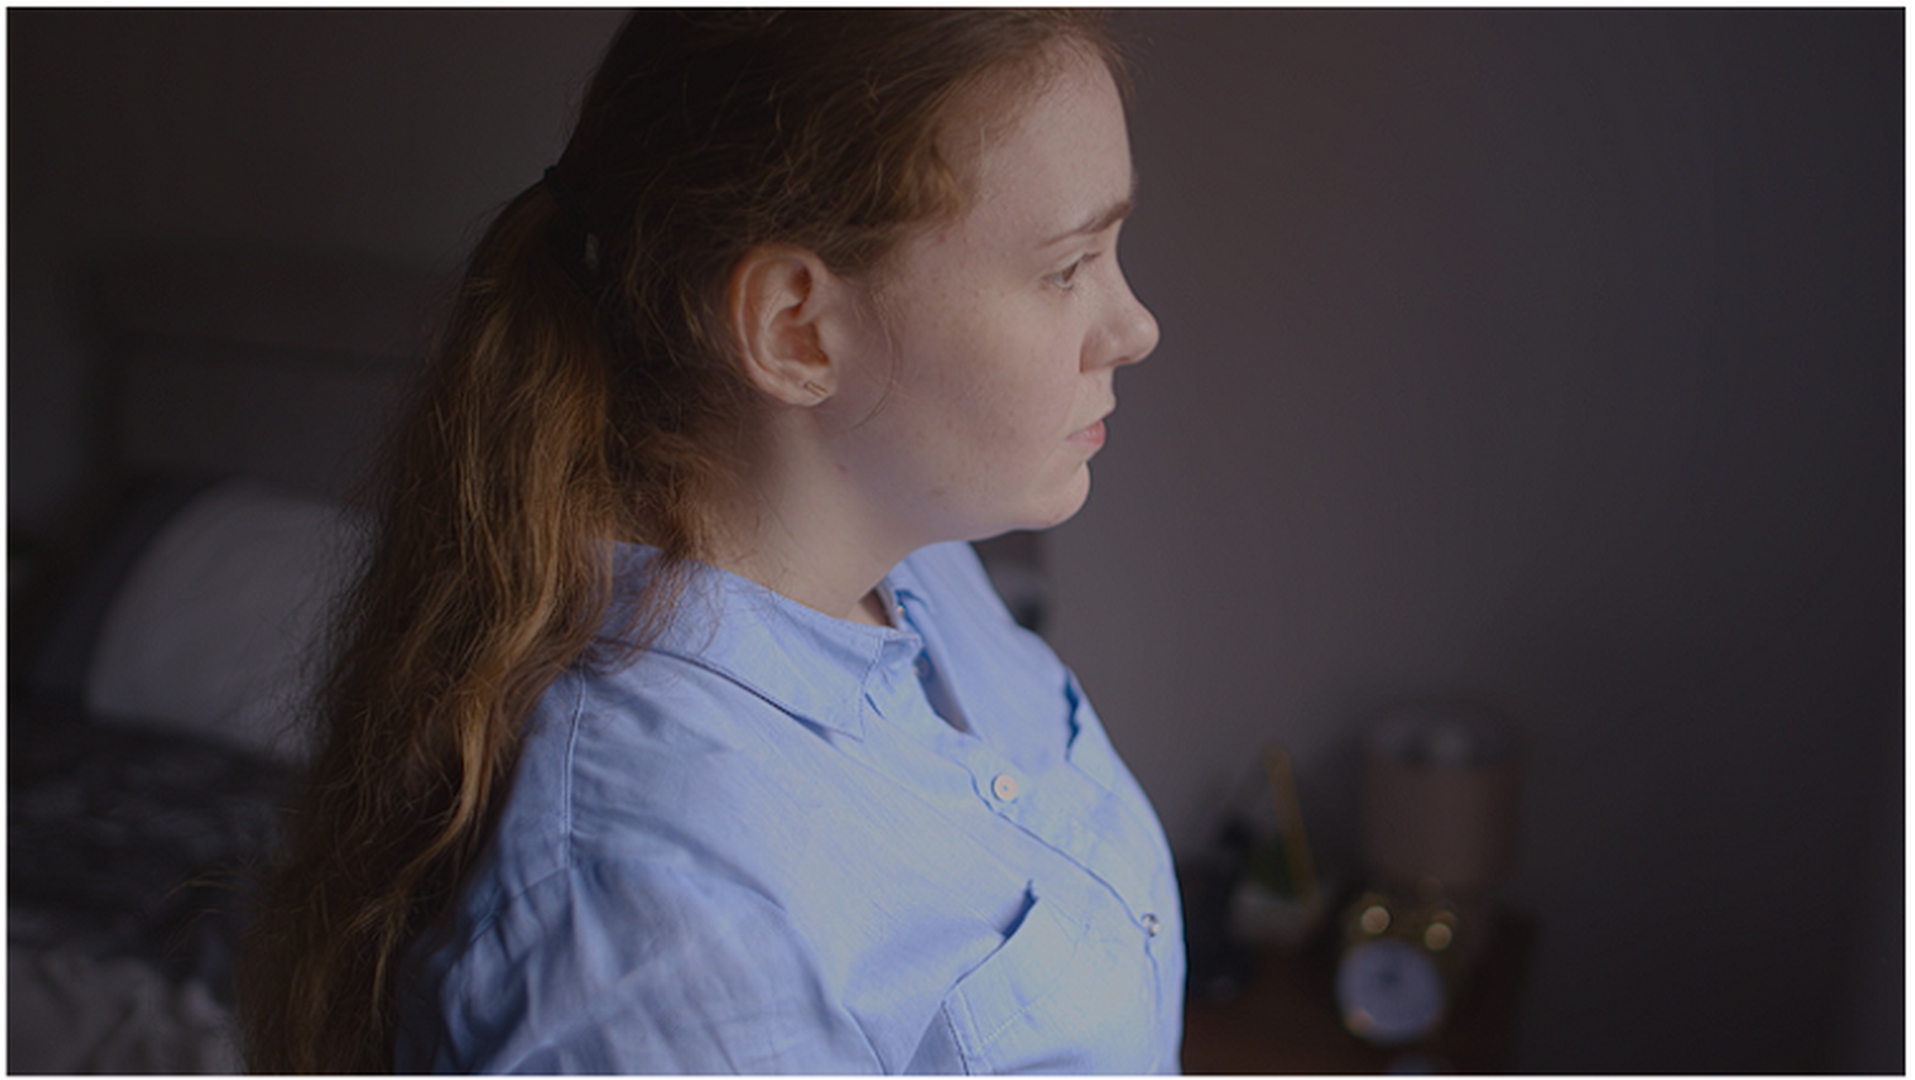
To demonstrate how banding can be introduced into your video, we’re going to apply a series of techniques to the same piece of footage, experimenting with full and partial noise reduction with both intermediate and final codecs (in this case ProRes 422 and H.264 main profile) to see what delivers better results. The frame below shows the footage we’re going to be working with; as you can see, the image has some minor noise in the areas with uniform colour. We’ll begin by fully denoising this video using Neat Video.
Original clip displaying minor noise in background.

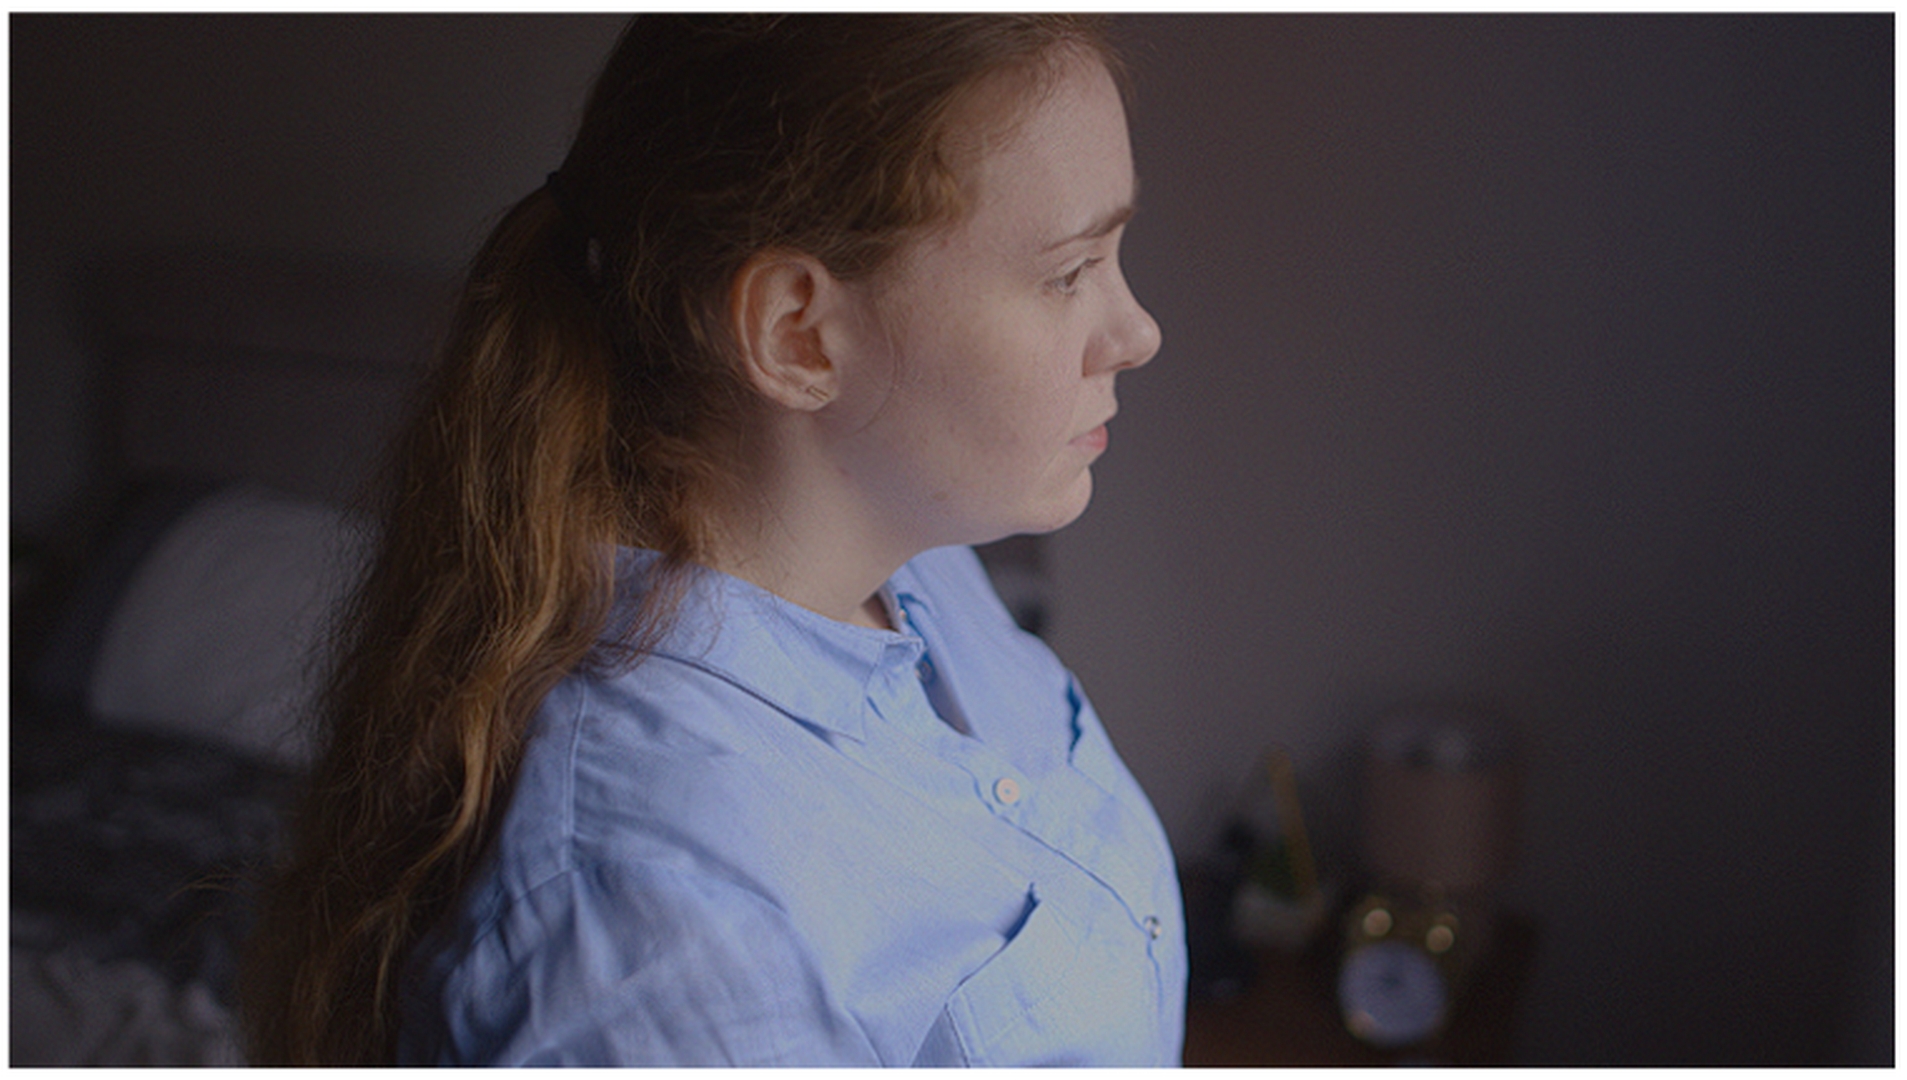
Original clip, close-up of noise present in background.
1. Remove noise
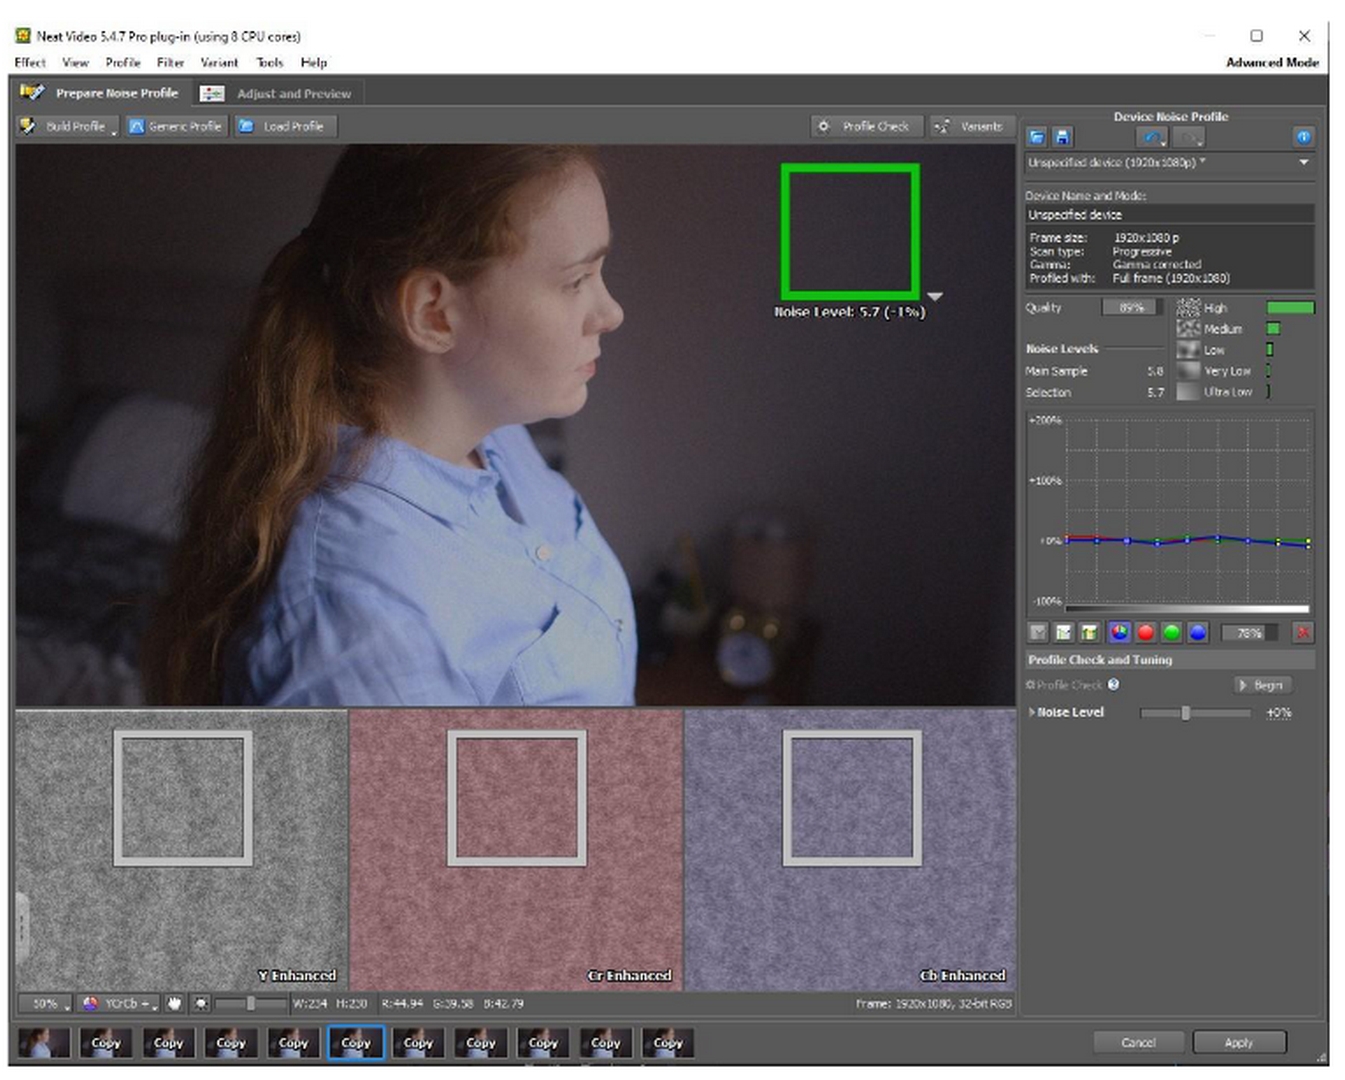
Original clip, Neat Video’s noise reduction plug-in in progress.
2. Export using a lossy codec
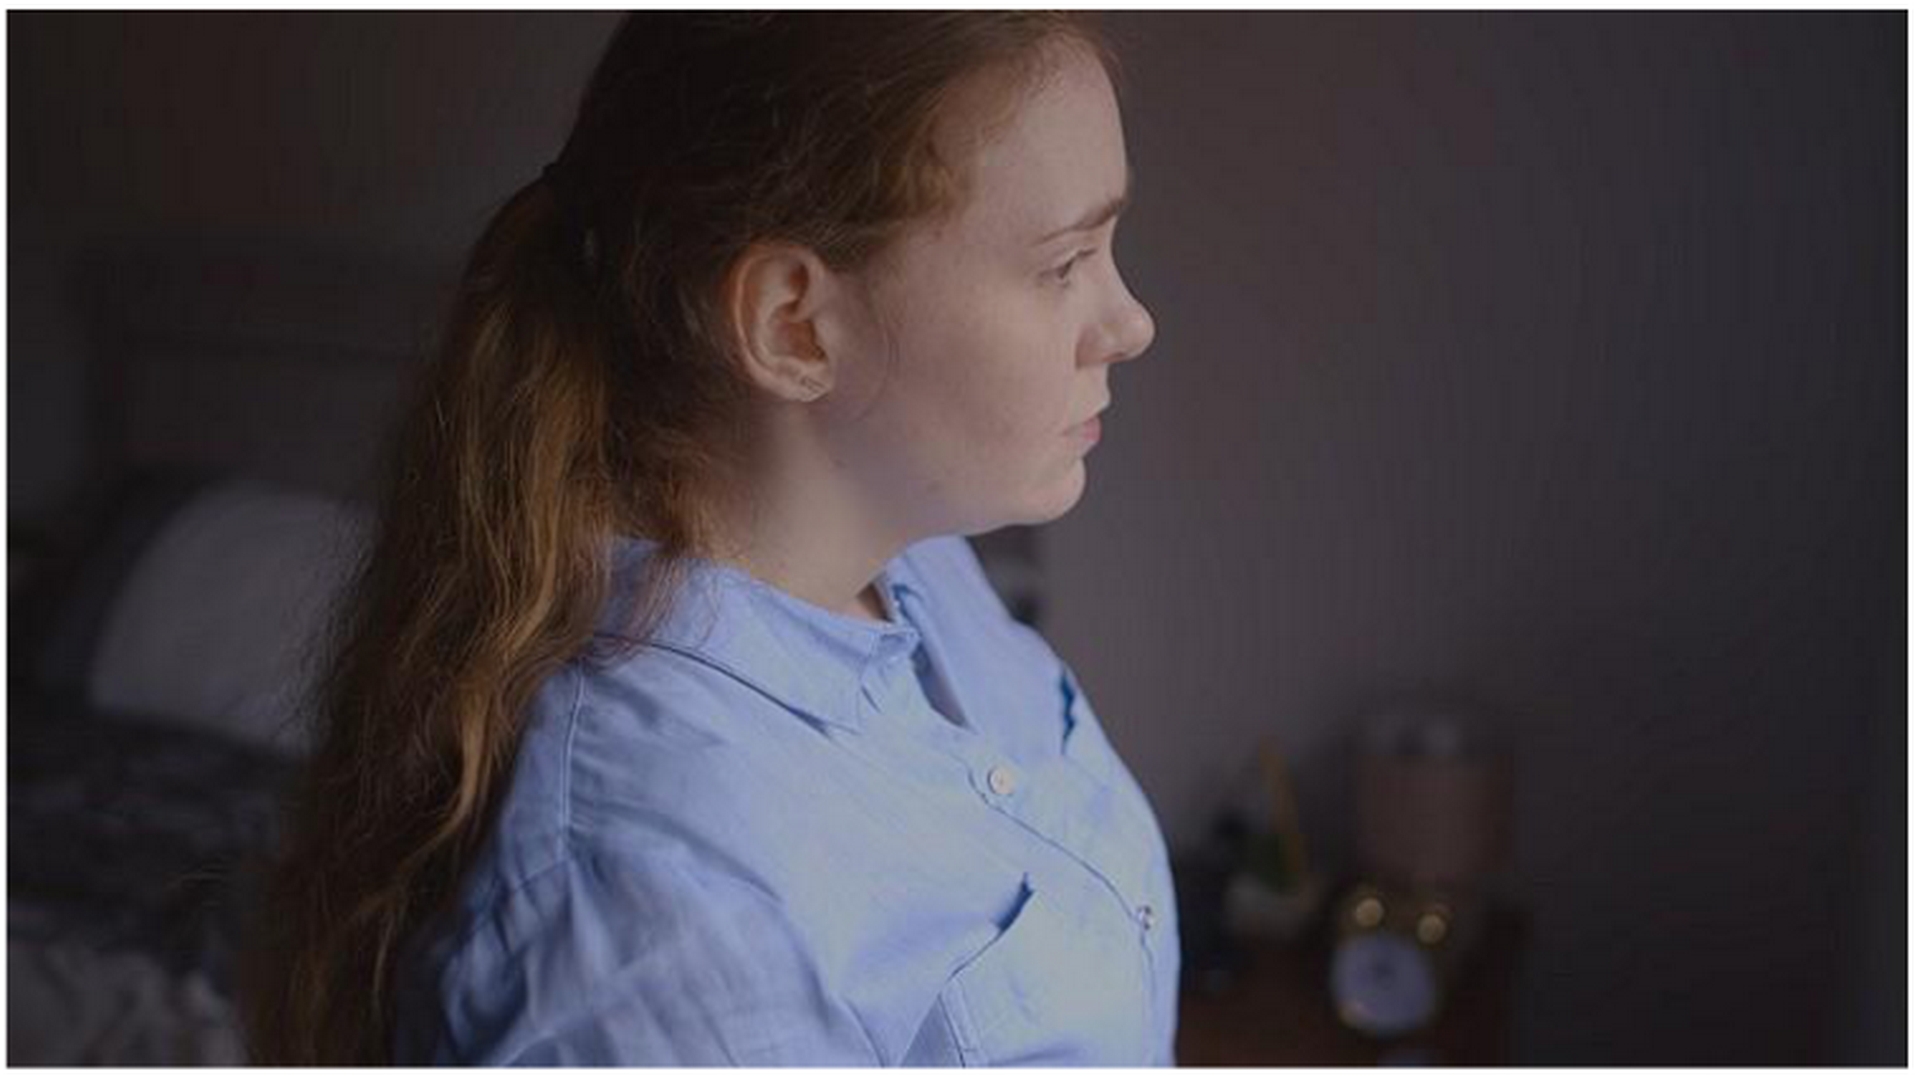
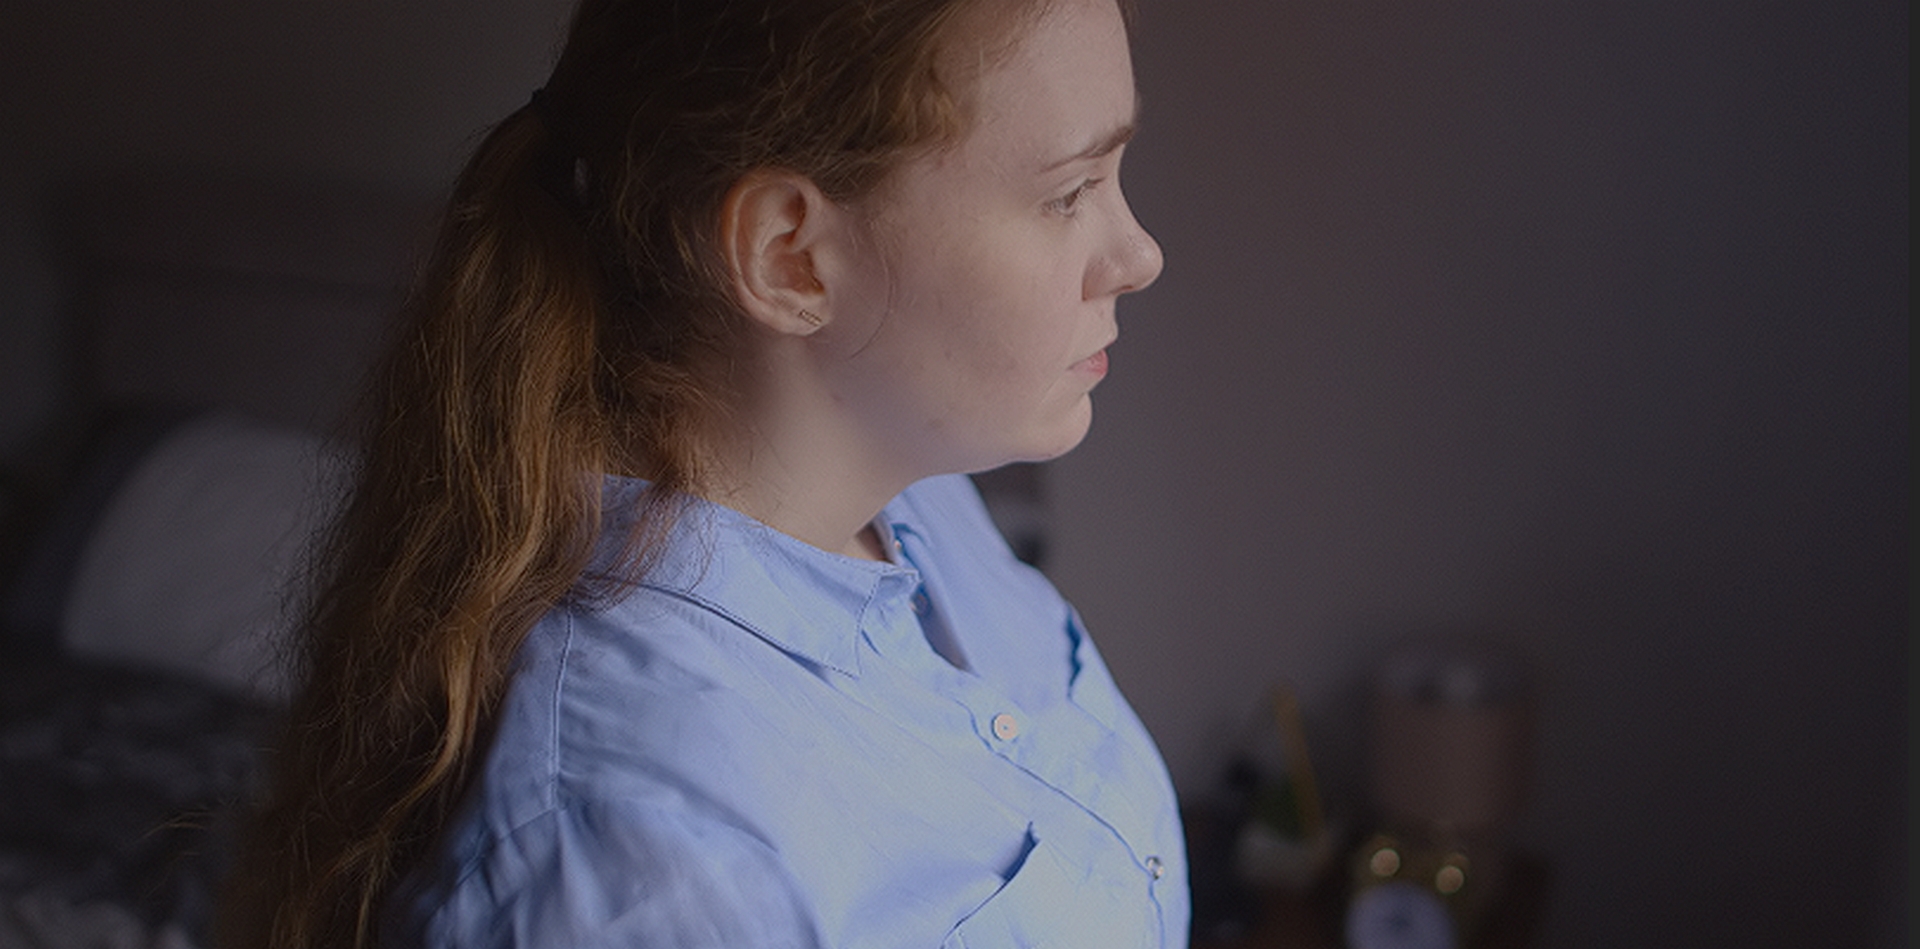
Resulting clip after heavy noise removal and exporting using a lossy codec H264 main profile with a high bitrate at maximum depth

Close-up of banding present in resulting lossy H264 codec export.
3. Export using an intermediate codec
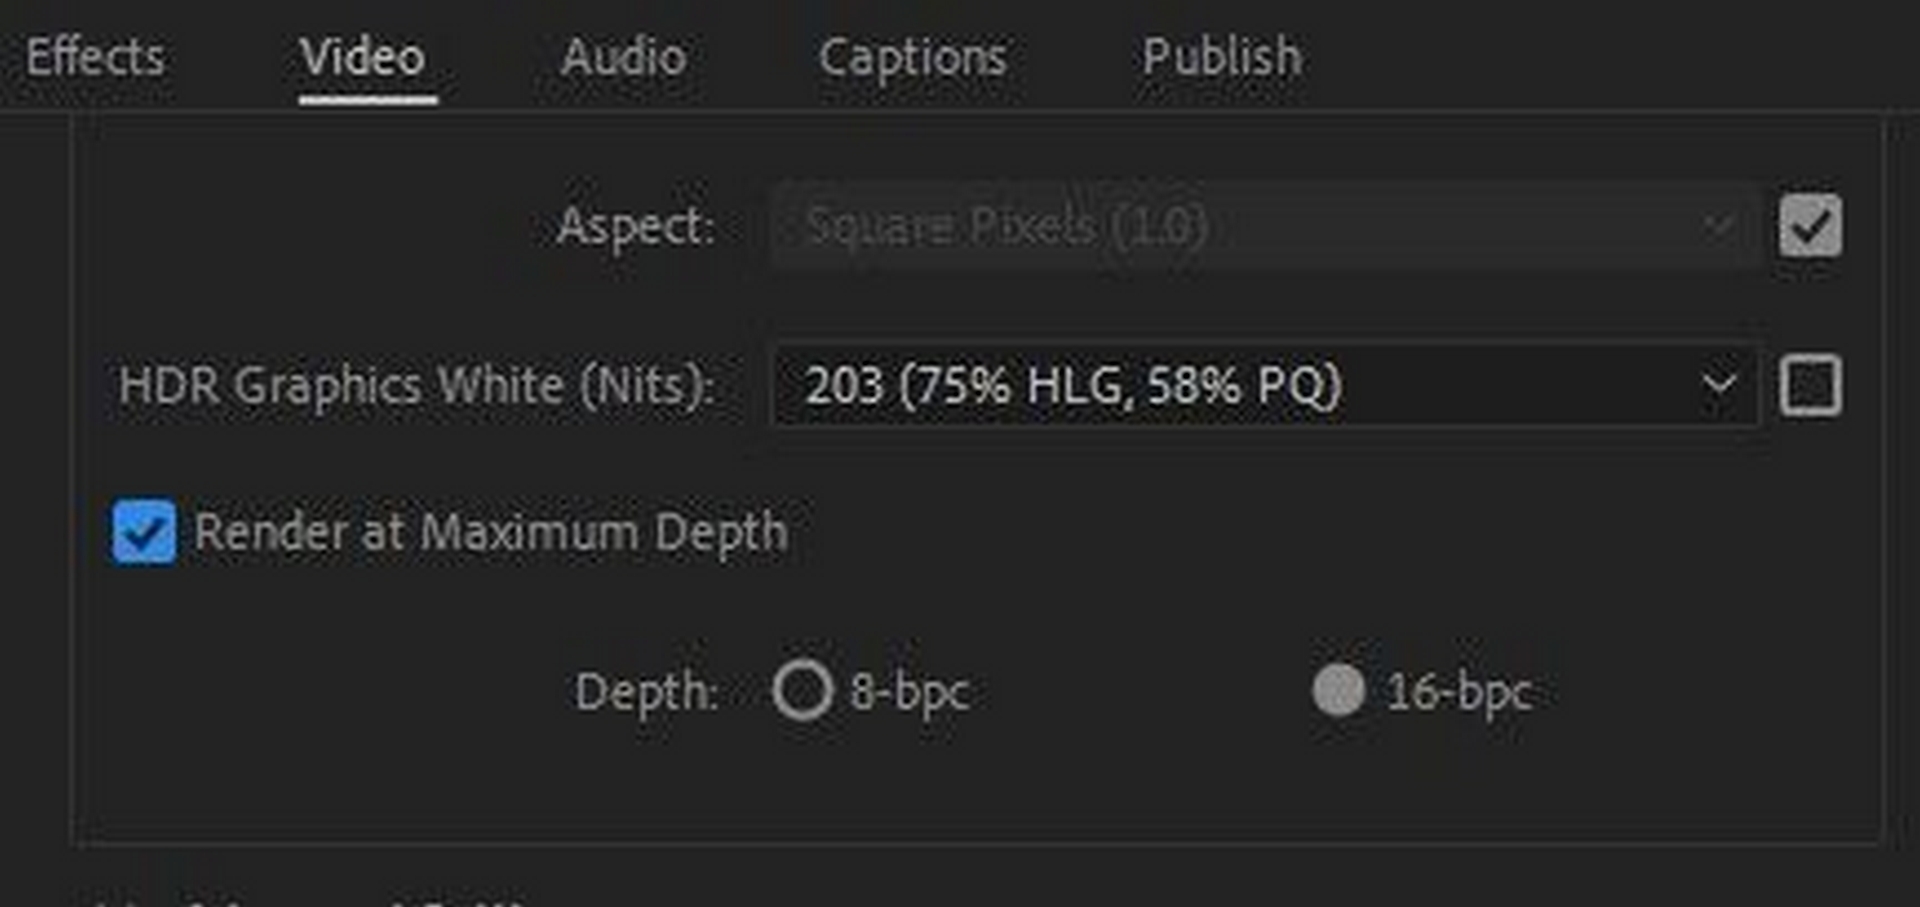
This same clip was exported using the same Neat Video noise reduction settings with an intermediate codec, in this case, Apple ProRes 422, rendered at Maximum Depth with 16 bits-per-channel Depth. It’s worth noting that rendering at maximum depth and switching from 8 bits-per channel to 16 bits-per channel are options that are not available in Davinci Resolve or Final Cut Pro. In Premiere, the bits-per-channel will be defaulted to 8bpc and will need to be adjusted accordingly and maximum bit depth will need to be selected within the Video tab.
Apple ProRes 422, rendered at Maximum Depth, 16-bpc Depth
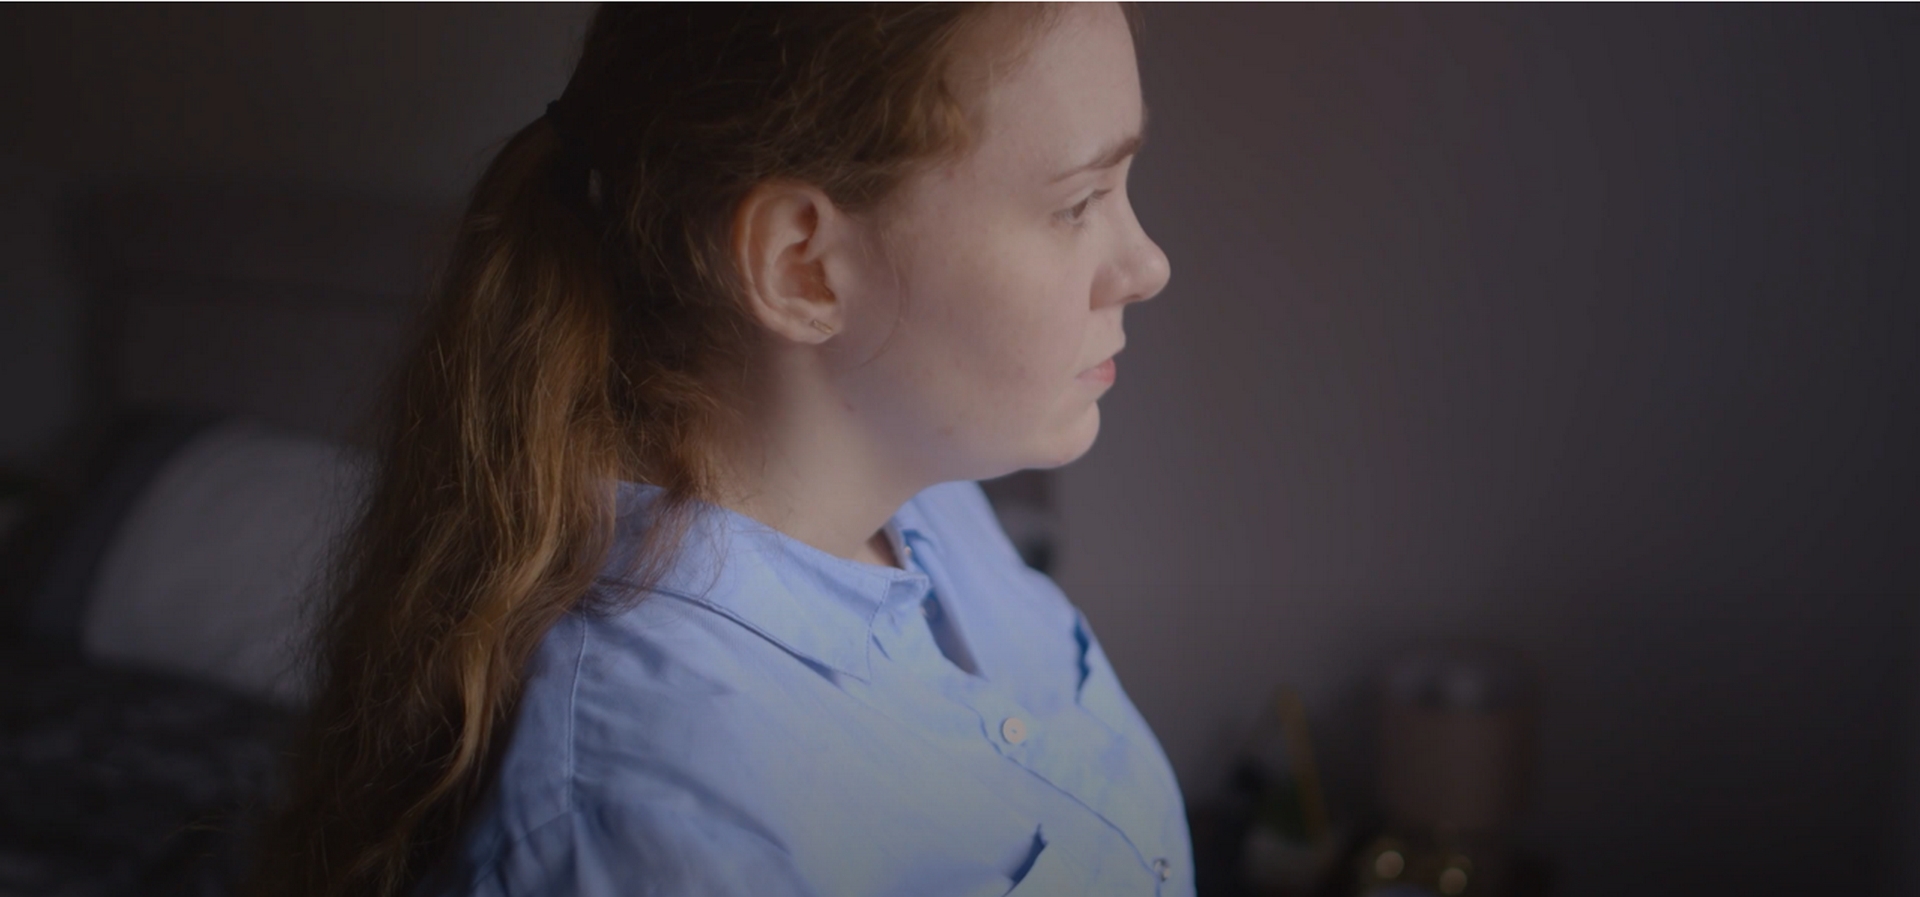
Resulting clip after heavy noise removal and exporting using ProRes 422

Close-up of banding present in resulting intermediate ProRes 422 codec
export.
4. Preserve some of the original noise with Anti-Banding Filter Presets
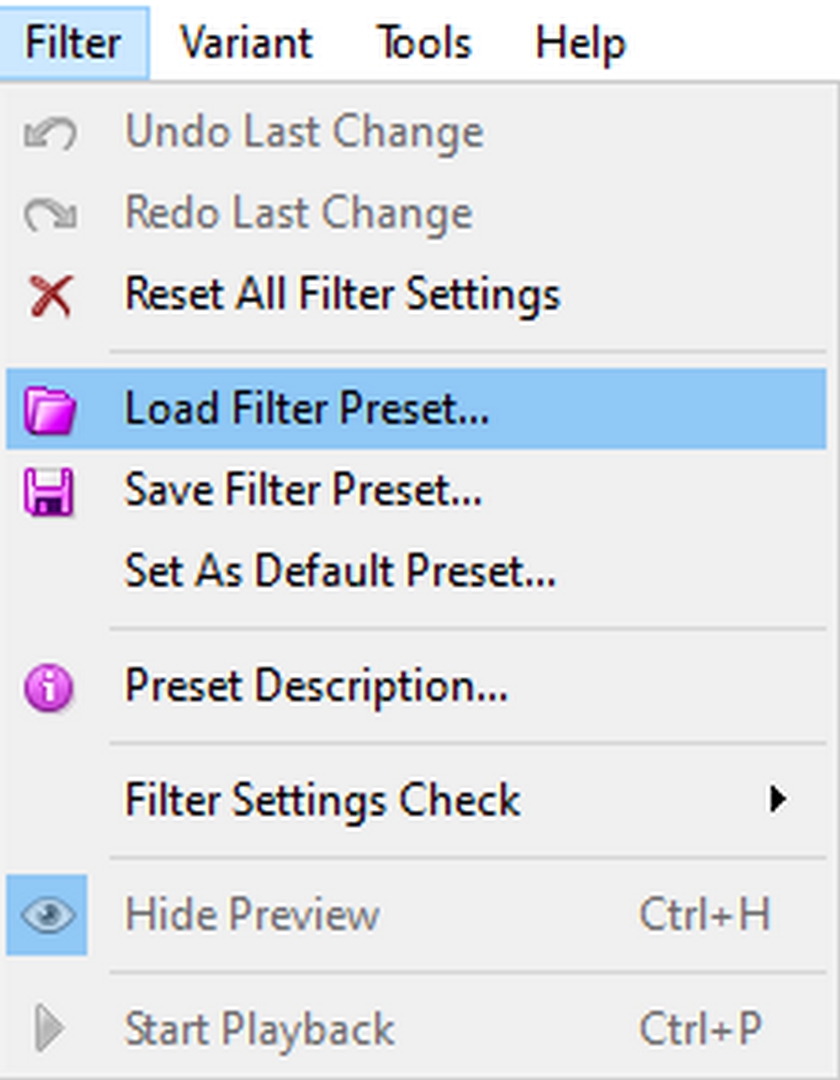
The Neat Video plug-in comes equipped with several filter presets. Two that are targeted at minimizing banding are named ‘Preserve some noise to avoid banding’ and ‘Use temporal filter only’. First, apply the Reduce Noise v5 effect to the clip. Then open the main window of Neat Video. In the case of Premiere, click the Setup... button (to the right of the 'Reduce Noise v5' name in the effect panel). Then go to Neat Video's menu Filter > Load Filter Preset...

After selecting the set-up icon, you’ll be presented with the Neat Video Interface. From here, navigate to Filter > Load Filter Preset...
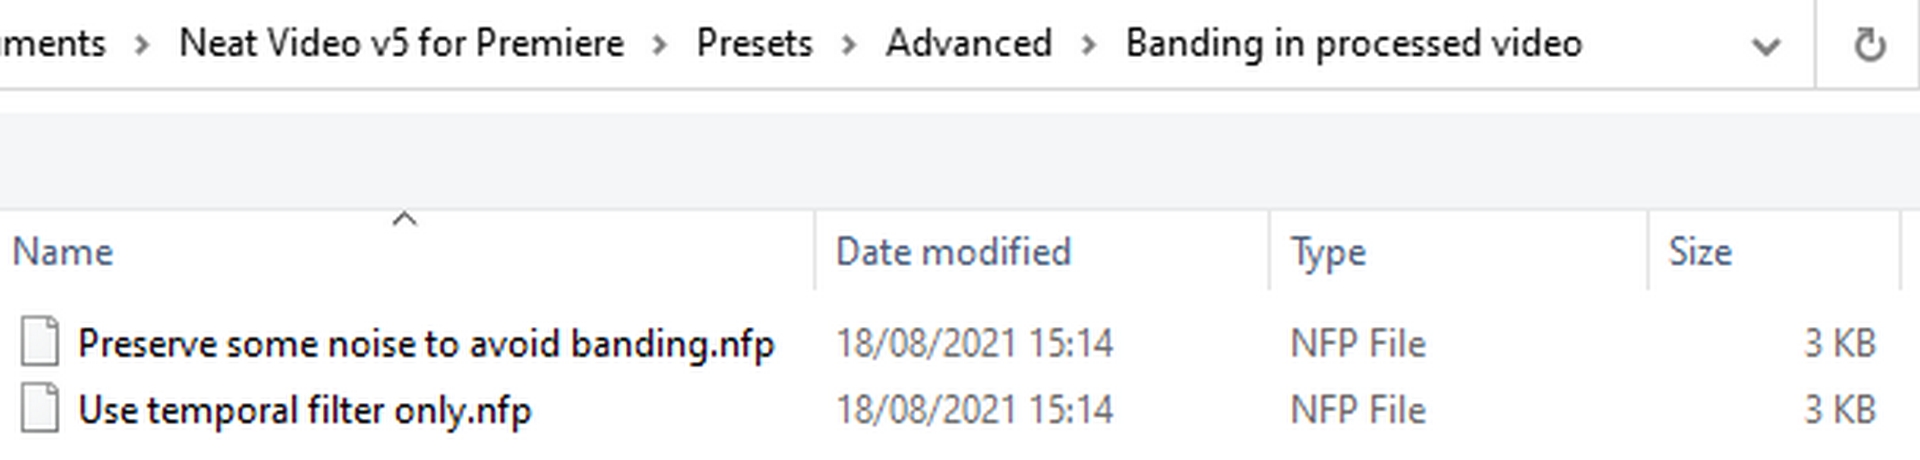
From here, navigate to Presets > Advanced > Banding in processed video and you’ll find these two presets as shown below.
Now let’s go back to our original, slightly noisy footage and try each of these presets and export both with intermediate and final codecs once again to evaluate the resulting footage, beginning with the ‘Preserve some noise to avoid banding’ filter preset.
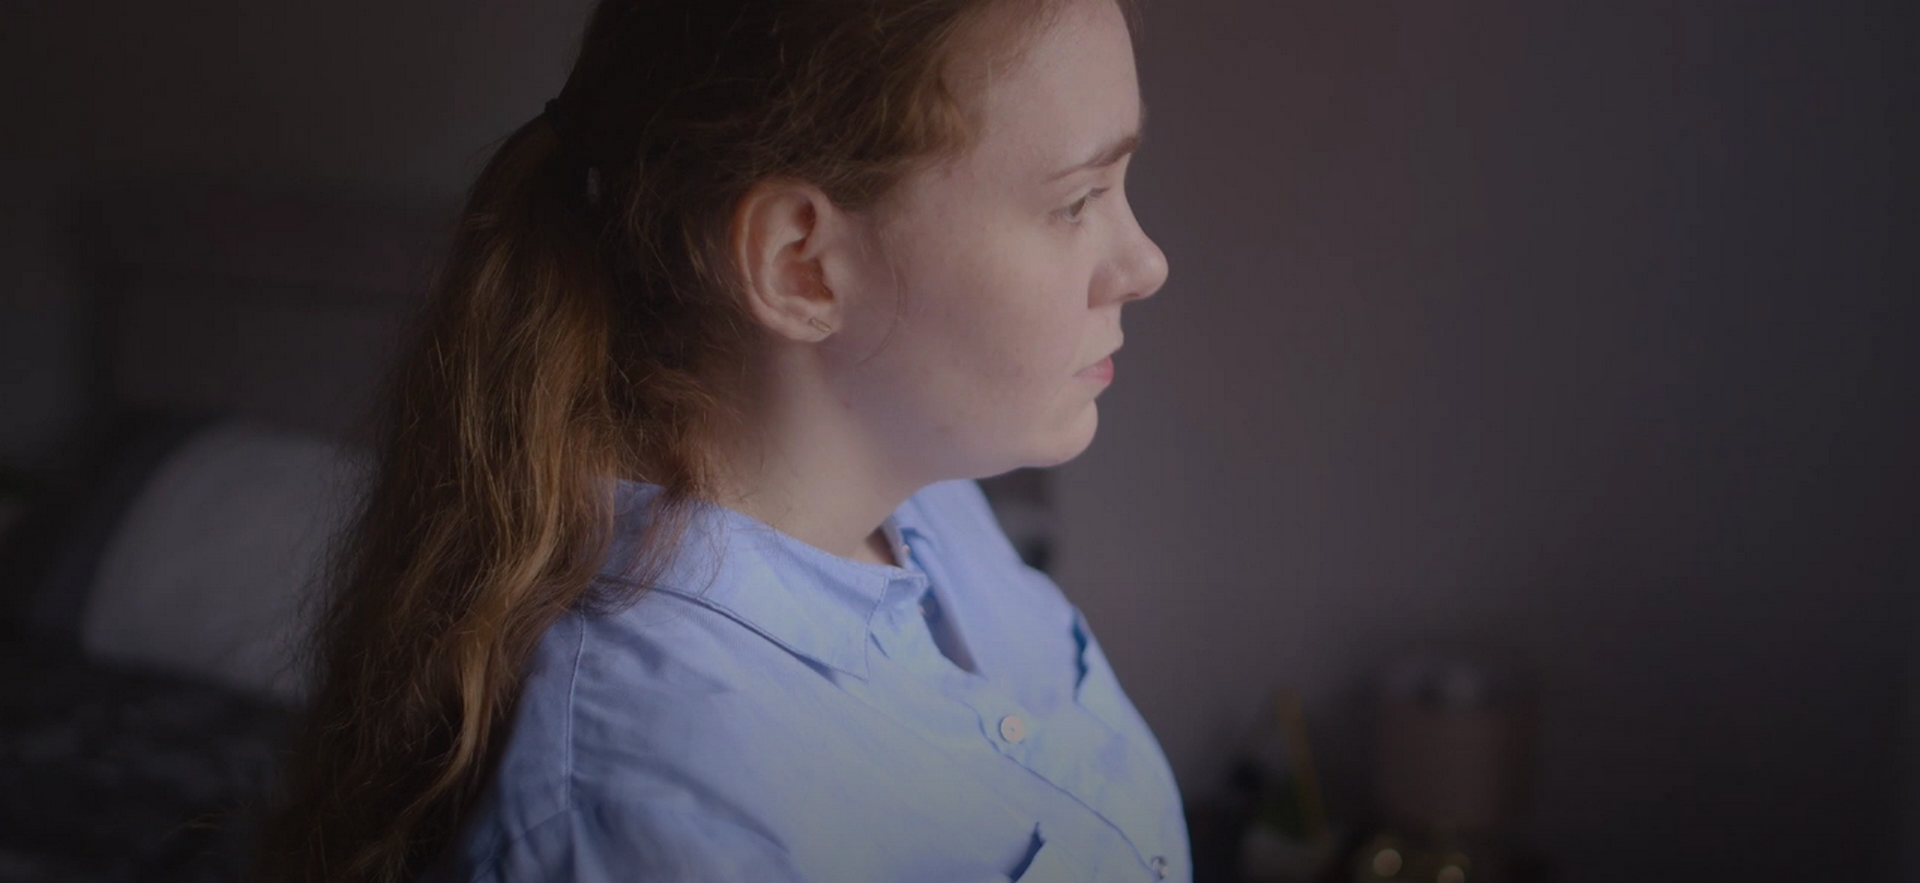
Resulting clip after applying the 'Preserve some noise to avoid banding' filter preset and exporting with the H264 main profile, high bitrate final codec.

Close-up of banding present in resulting lossy H264 codec export.
Resulting clip after applying the ‘Preserve some noise to avoid
banding’ filter preset and exporting with the ProRes 422

Close-up of resulting footage from intermediate ProRes 422 codec export.
As demonstrated, both codecs display a significant reduction in terms of banding when held in comparison to the fully denoised examples tested initially. In this example, now banding can only be slightly noted in the lossy H264 codec export. There is some noticeable noise in both images but the trade-off here is preferable to the distracting banding evident within the previous renders.
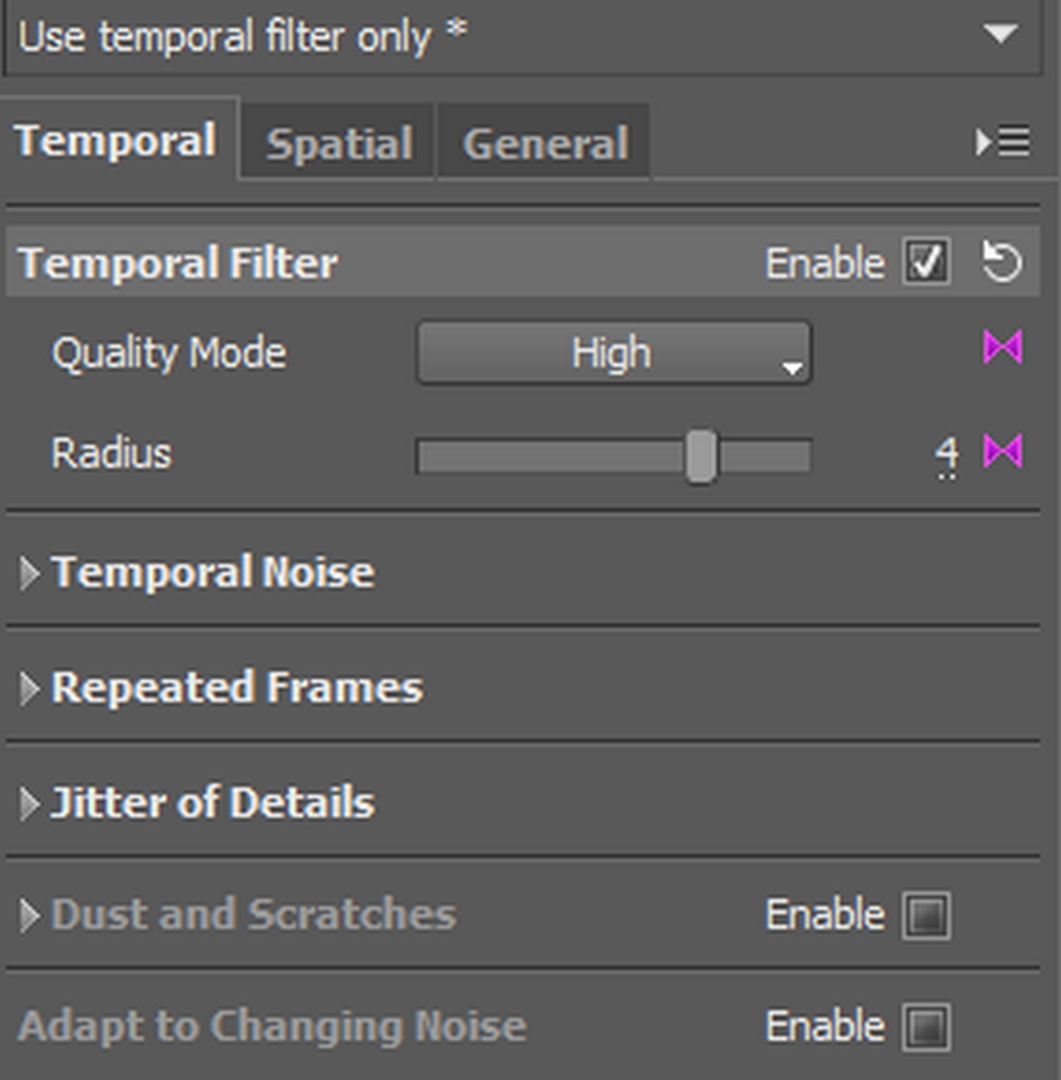
Next, we have the second preset, ‘Use temporal filter only’. It’s worth noting that the default values may introduce too much noise into your footage. Should this occur, it is recommended to increase the temporal filter radius (Temporal > Temporal Filter > Radius) as demonstrated below.
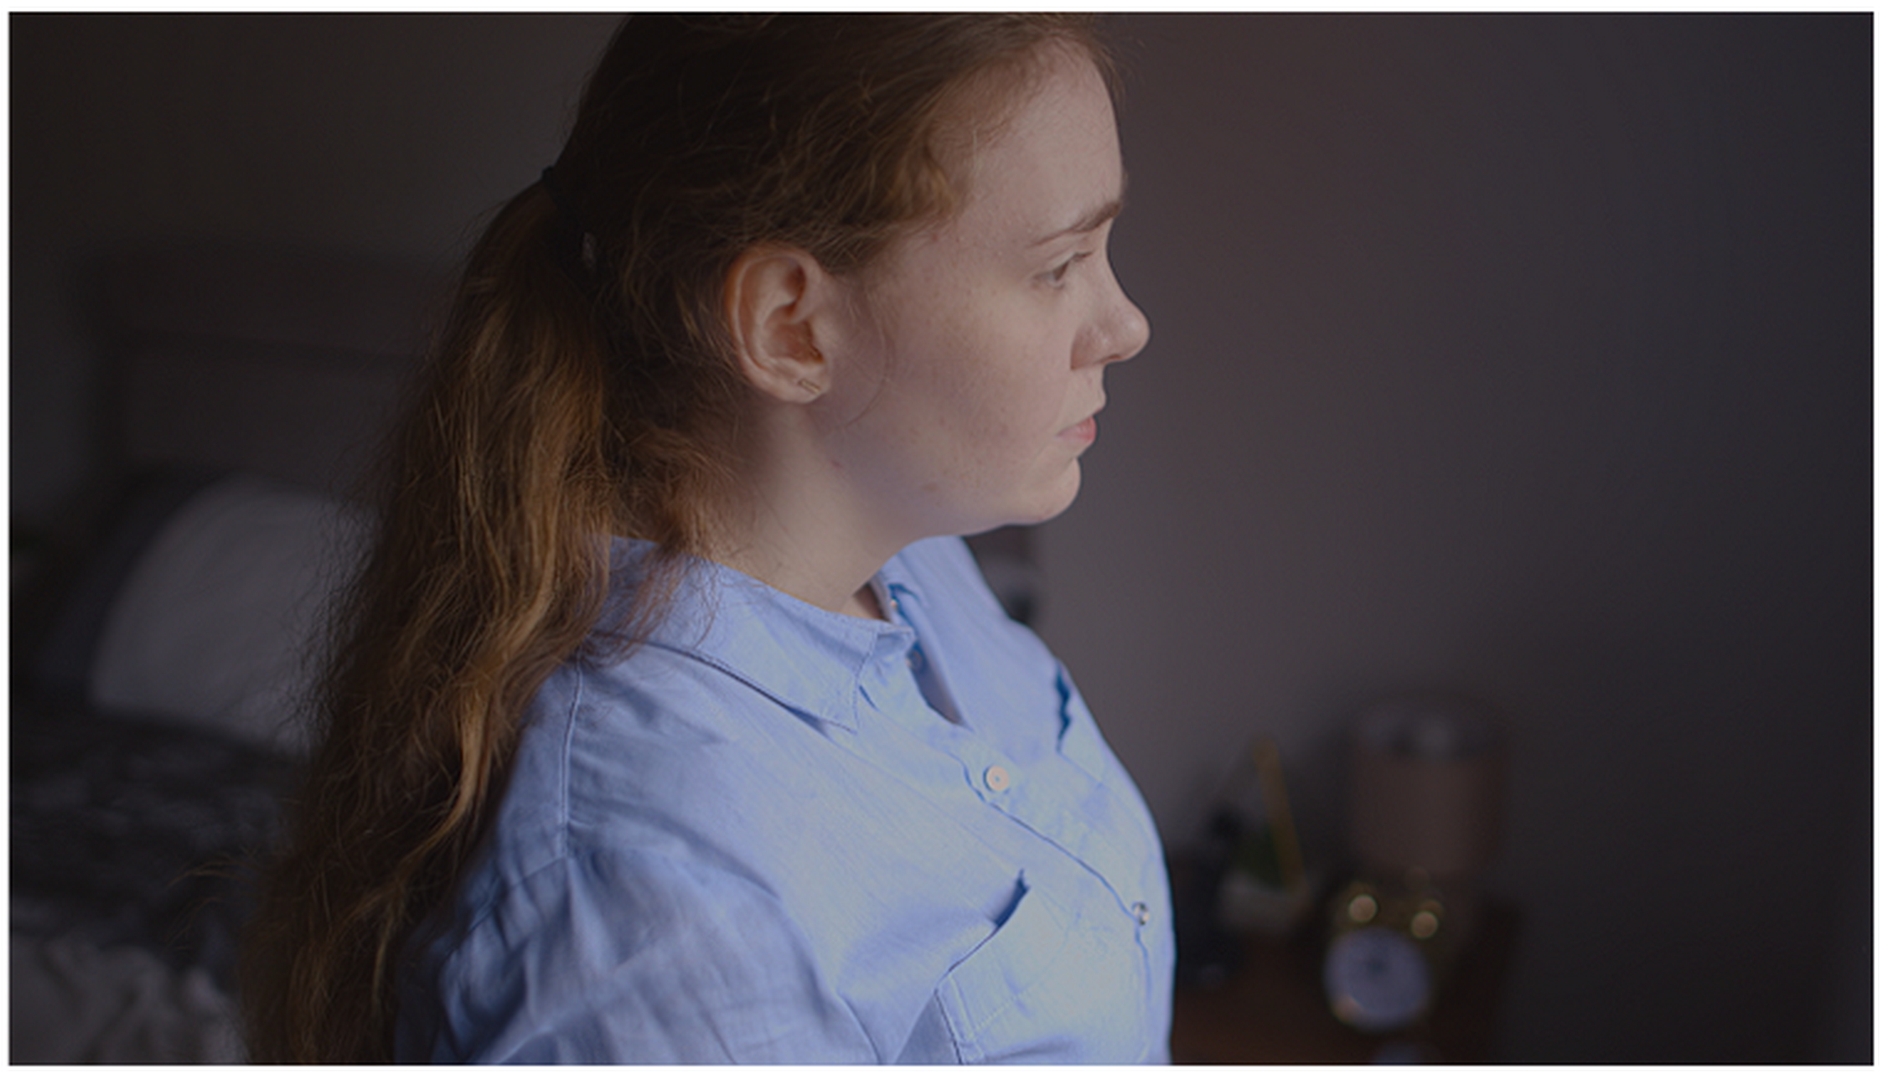
Resulting clip after applying the ‘Use temporal filter only’
filter preset and exporting with the lossy H264 codec.

Close-up of resulting footage from the lossy H264 codec export showing
minor banding.
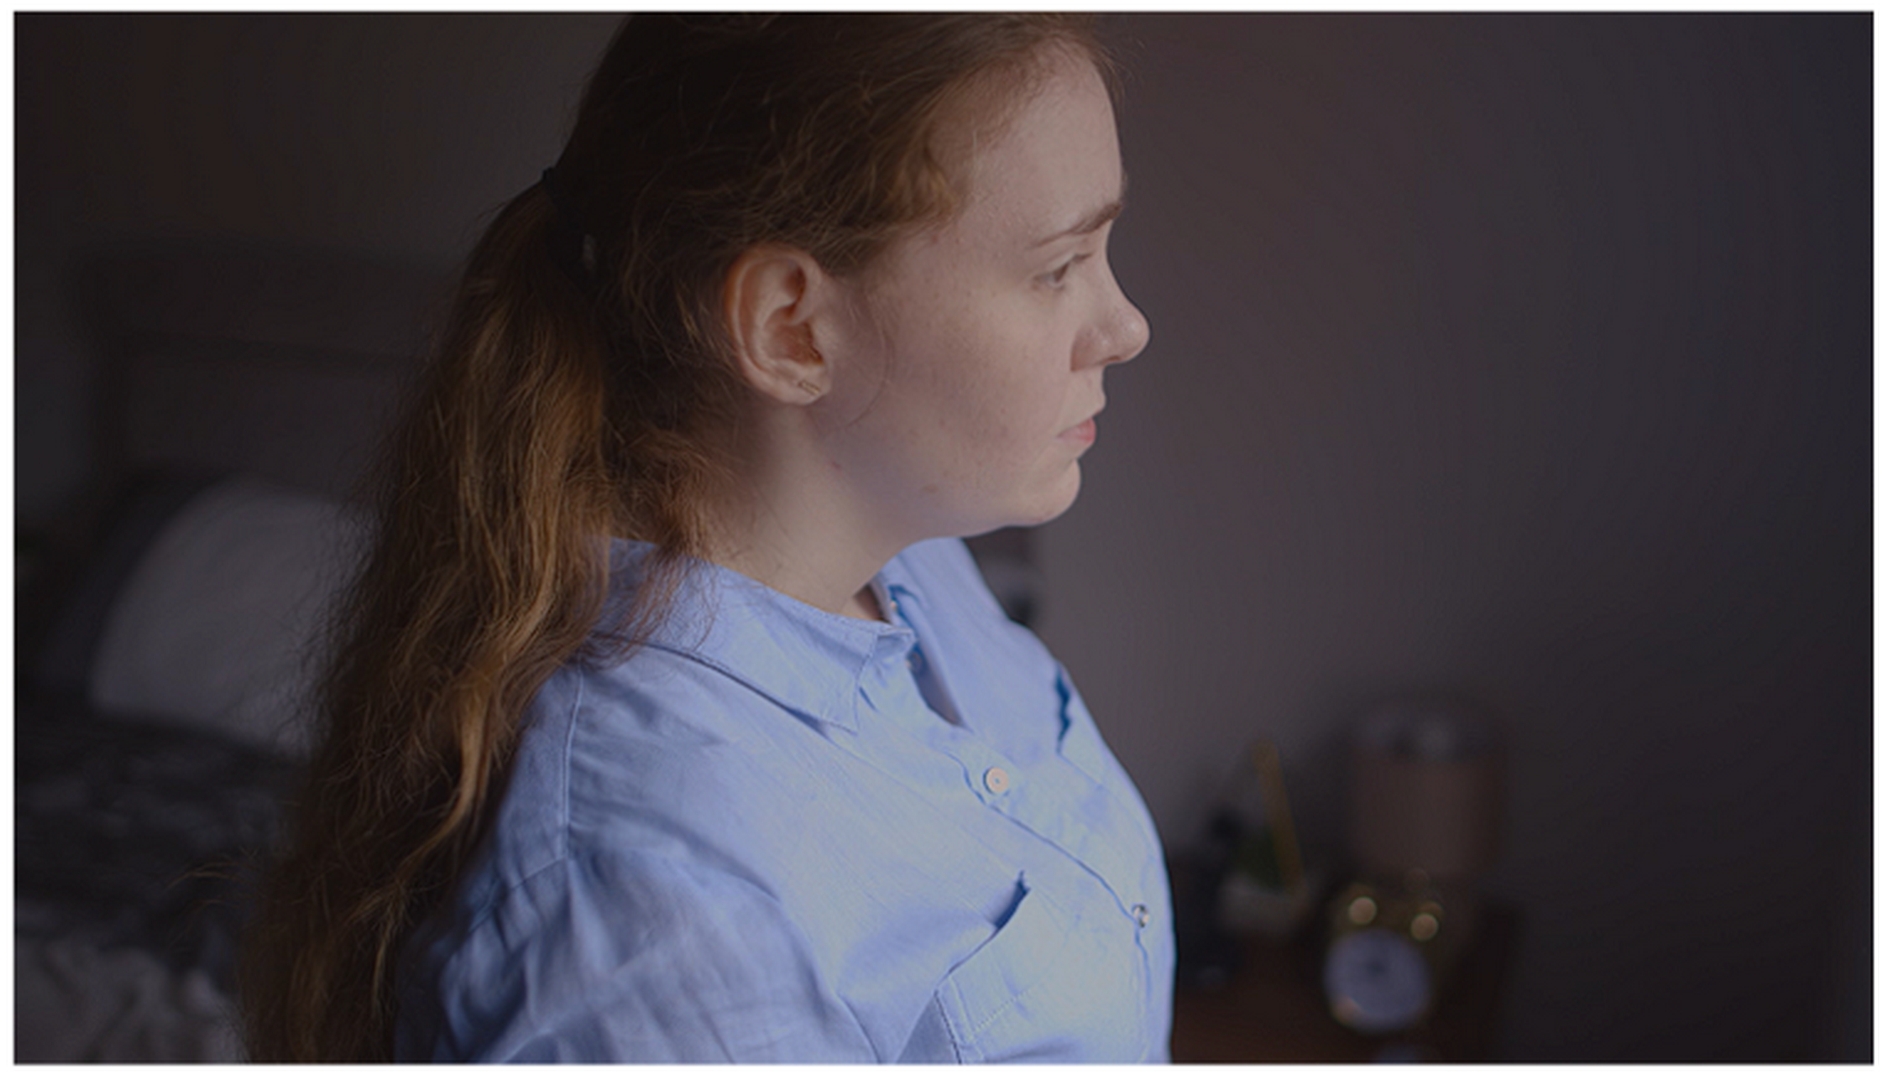
Resulting clip after applying the ‘Use temporal filter only’
filter preset and exporting with the ProRes 422 codec.

Close-up of resulting footage from intermediate ProRes 422 codec export.
Again, both exports show a significant improvement in terms of banding in comparison to the fully denoised examples tested prior. The banding in the Apple ProRes 422 export is virtually undetectable. Interestingly, though there is minimal banding still evident in the H.264 export, it appears to be a considerable improvement to the ‘Preserve some noise to avoid banding’ filter preset used previously. There also appears to be an overall reduction in noise in both exports in this case in comparison to the previous filter preset. Ultimately both dedicated Neat Video filters presets have resulted in a significant reduction in banding, with the best results overall achieved through rendering in a high-quality intermediate codec.
Other Codecs
While the previous examples cover the H264 main profile codec with poor results in comparison to the intermediate Apple Prores 422 codec, H264 High 10 profile and H265 Main 10 profile are comparable to the Prores results. The main profile we covered previously is often used for SD digital TV broadcasts, not HD. H264 high profile is the most powerful profile available within the H264 family and is often used for HDTV and Blu-ray disc storage formats, with a compression ratio of around 2000:1.
Resulting clip after applying the ‘Use temporal filter only’
filter preset and exporting with the H264 High 10 profile.

Resulting clip after applying the ‘Use temporal filter only’
filter preset and exporting with the H265 main profile.
The resulting footage from both exports as demonstrated above is certainly comparable to the results reaped from the Apple Prores 422 codec previously tested.
Other potential solutions - Adding Noise
As we briefly discussed earlier in the article, banding may not even appear present until uploading the final export to a streaming service such as YouTube which further compresses your export. If you are presented with this problem, it may prove beneficial to add some noise to your video to negate this. We tested this with various levels of noise added to our video in Premiere before uploading to YouTube to check for banding issues in the YouTube player. The examples below were all exported in an H.264 high profile and include no noise added, 5% added and 10% added.
1. Sample video upload to YouTube - No noise added

Heavy banding
2. Sample video upload to YouTube - 5% noise

Less
banding

3. Sample video upload to YouTube - 10% noise

Some banding and artifacts from compression
The first example, where no noise has been added, displays some heavy banding in the uniform areas. The second example, where we added 5% noise displays minimal, almost undetectable banding. And finally, the third example, which displays 10% noise added shows some banding with some unwanted artifacts from YouTube’s compression. In this case, the ‘sweet spot’ appears to be adding 5% noise. It may be worth bearing this simple technique in mind when dealing with footage susceptible to banding before uploading to services such as YouTube.
Reduce banding
Adding some noise to a picture is a very efficient way of making banding less noticeable. There are several different ways of adding noise to your video. In some video editing applications, you can use built-in effects, while others don’t have such a feature. Adding an overlay with noise works in most apps. Below you can find one of the easiest ways of adding noise in Adobe Premiere Pro, DaVinci Resolve and Final Cut. The most important thing you should keep in mind when trying to fix banding is the fact that each shot and each scene are unique. What was working before may not work next time, so keep an eye on the final result.
- Premiere Pro
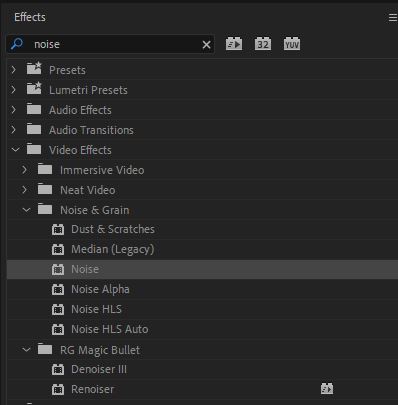
In Premiere Pro you can simply add a built-in effect and adjust it to the level that ensures banding elimination. Simply go to the Effects panel, then find Noise & Grain section and drag and drop the Noise effect onto the clip. Adjust the Amount of Noise. You don’t want to keep it too low as that will not help with banding, but ramping it up unnecessarily will not help either as you’ll end up with ugly noisy footage with lots of compression artifacts that will be introduced by YouTube. The grain will not look as natural as what you would have straight from a camera, but by the time your clips will make it to YouTube the look of that grain will be completely transformed.
- DaVinci Resolve
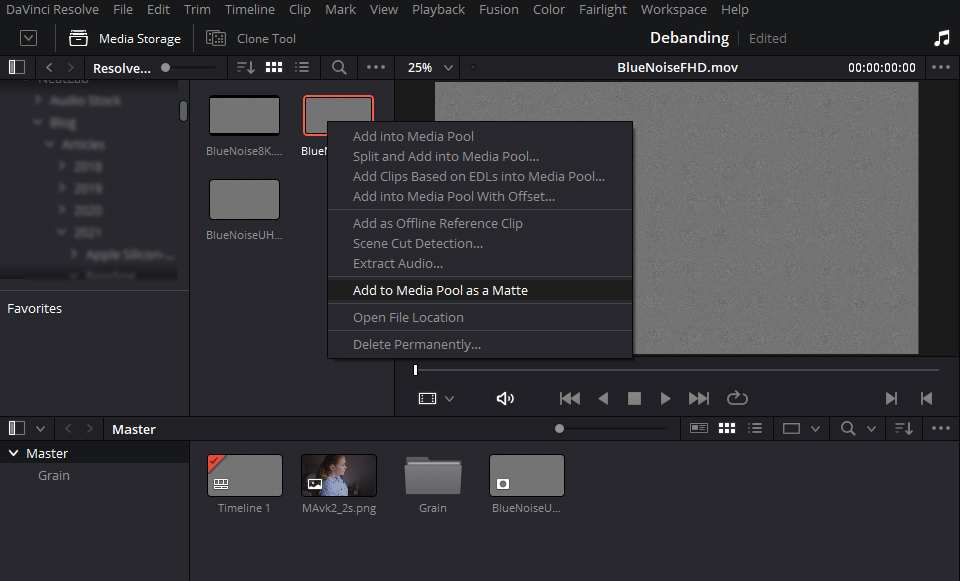
One of the ways to add noise/grain to video in DaVinci Resolve is via adding grain overlay. You can find a sample of grain online or download some generated noise samples here. Once downloaded, add it to the media pool as a matte:
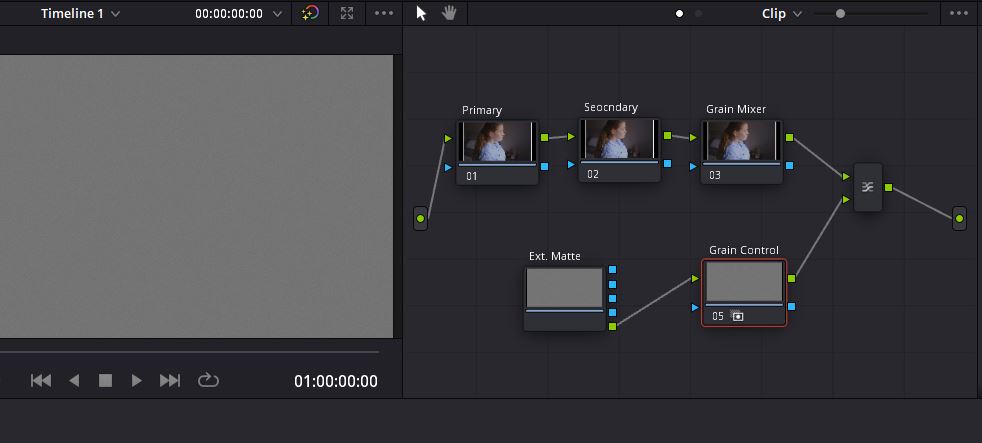
Then switch to the Color tab, work on the grade and add a new node and call it something like "Grain Mixer." Add a layer mixer node to the “Grain Mixer” node and name it “Grain Control". Remove the link on the left side of this node so it's not connected on the left. Right click "Grain Control” node and select Add Matte > Track Matte > BlueNoiseUHD.mov (or other noise sample). Delete the link between the new matte and the "Grain Control" node. Drag from the circle on the right of the matte node and connect it to the circle on the left of "Grain Control." Your node tree should look similar to this:
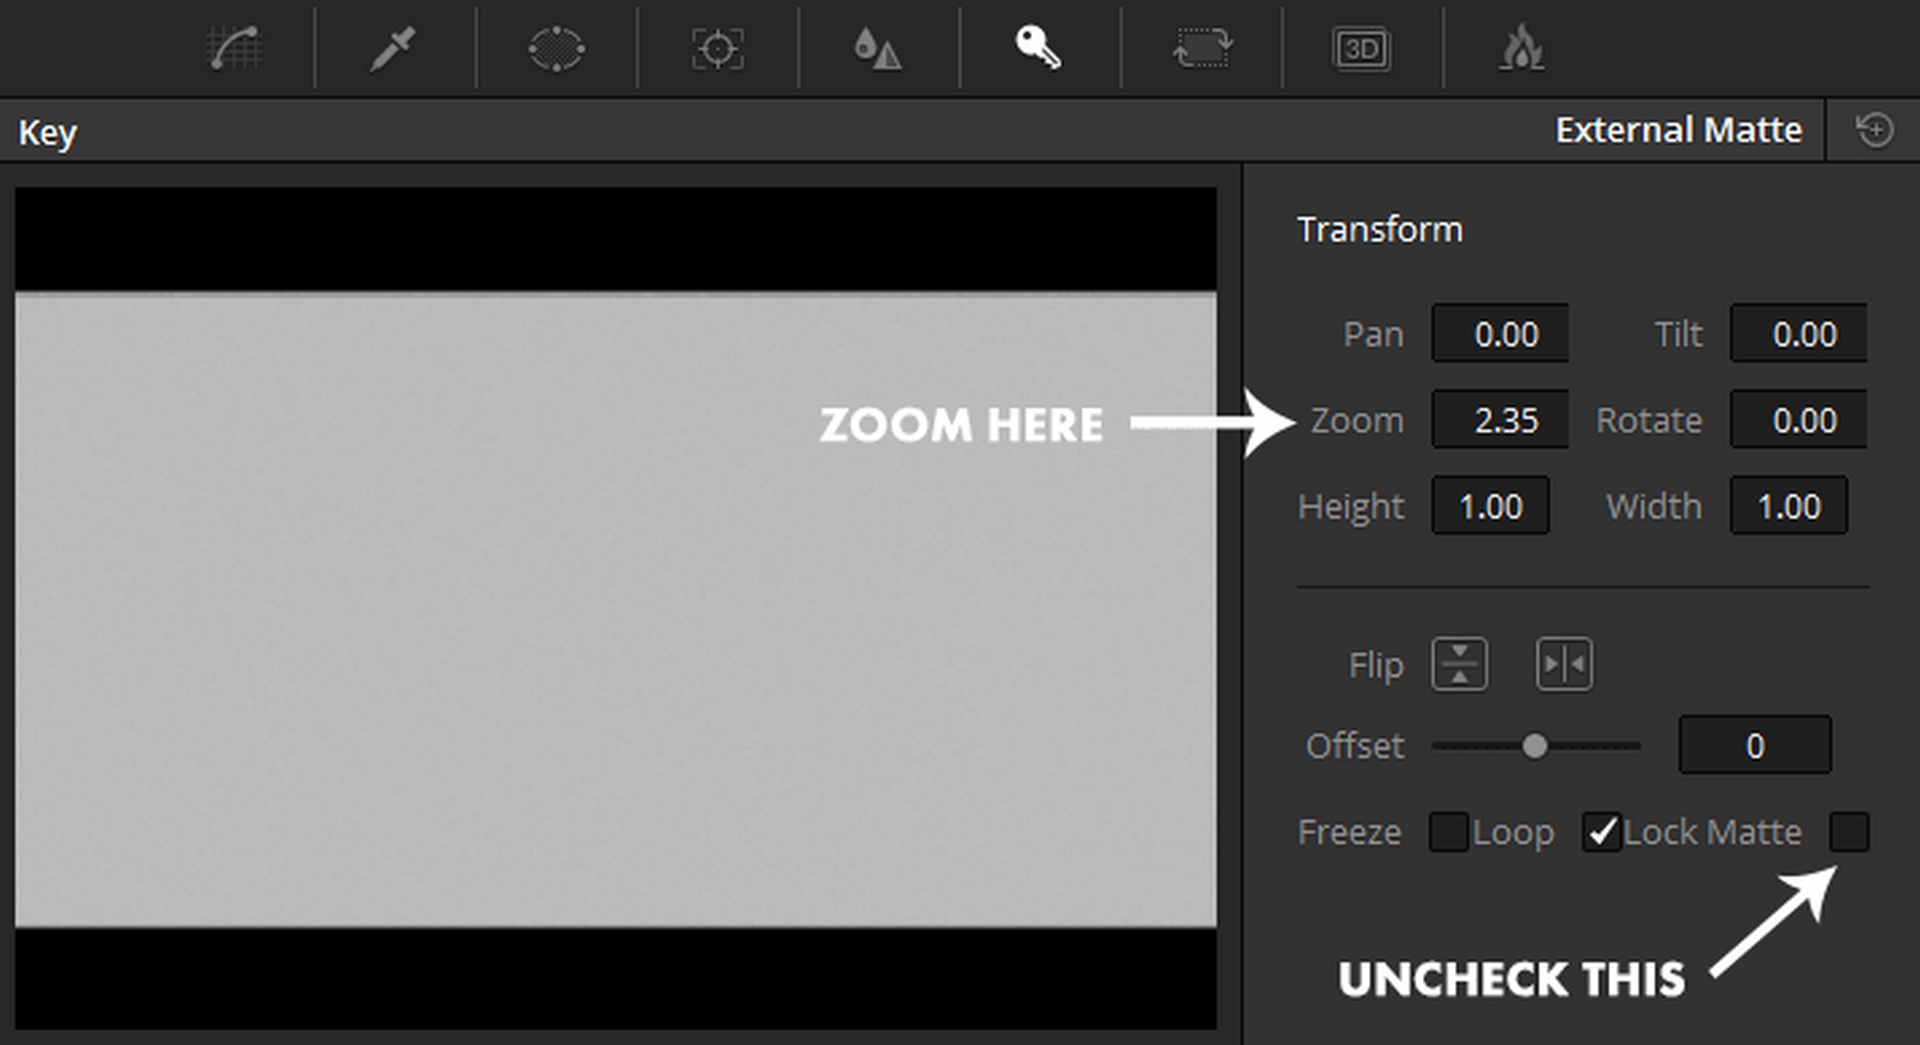
To adjust the grain overlay select the "EXT MATTE" node and switch to Key in the Center Palette. Uncheck the "Lock Matte" box. Adjust zoom to fill your frame and set the grain size to your liking. To make this grain work on clips of various lengths, make sure the "Loop" box is still checked.
If you don’t see grain over the image, right-click the layer mixer node, go to Composite Mode and choose Overlay. The picture may become lighter at this point. If you see that, it means that the grain scan you are using isn't using the correct grey. Luckily there is a very easy way to fix that. Select the "Grain Control" node and bring the gain of the image down.
Now you want to do some tests with the grain intensity, contrast and midtone details of the "Grain Control" node, export clips with different noise settings and see which one looks better on the platform where you are planning to host the final video.
- DaVinci Resolve Studio
To apply the film grain on the Color page, first, create a new node and open the OpenFX panel in the top right corner. With the panel open, scroll down until you find ResolveFX Texture — Film Grain, alternatively, use the search tool to find the effect.
Add a moderate amount of grain to make it help with banding, but don’t add too much.
- Final Cut
Similar to Premiere Pro, Final Cut has a couple of built-in effects that can help with banding. They are called Film Grain and Add Noise. The Add Noise effect even has a dedicated preset for dealing with banding it’s called Blue Noise, BUT our test has shown that the preset doesn’t always deliver the results the name promises. So don’t rely on the name, check if it works for your specific footage.
To add one of those effects to your footage go to the Effects browser, select “All Video & Audio” and type in Film Grain or Add Noise and drag and drop the effect of your choice onto the clip.
Film Grain
When working with this effect, make sure you don’t overdo it. Too much grain will result in extra blocky artifacts added by YouTube. Too little grain, on the other hand, won’t help with banding. Experimenting is the way to go.
Add Noise
We found that White Noise and Blue Noise types were working best for banding. Small amounts of noise are better for the final video quality.
As mentioned before, every shot is different and every banding problem is different and, unfortunately, there is no silver bullet that will be working for you 100%. Hopefully, YouTube will give us an option for uploading videos without such aggressive compression, but meanwhile, we are all bound to find some ways to make it work. Keep on trying.