Attack noise with calibration target

When you are busy shooting it’s hard to keep everything in mind. When filming in low light conditions, the list of things to take care of goes even longer. You may simply forget to take a couple of seconds to record something featureless to help yourself build a noise profile and fix unwanted noise and gran in post. In the worst-case scenario, you can end up with a clip, that is so rich with details that it’s impossible to find a big flat area to build a quality noise profile.
If this is exactly your scenario, there are a couple of different ways you can go. You can either use our Calibration Target or utilize Generic Profile. We discussed Generic Profile earlier in a separate tutorial. This article will unfold all you need to know about the Calibration Target and hopefully will help you to save time and get great-looking images and videos.
The idea with the Calibration Target is that you can either simply include it in the actual shots of each scene (to help you build a noise profile for each such scene using the shot itself) or make several short test shots of the target itself using your camera working with different modes to build a re-usable set of profiles for your camera. Then you would be able to load one of those profiles from the disk when you need to process a new clip shot by the same camera. This can greatly help in a situation when it’s tricky to build a noise profile for a specific clip.
Print and shoot
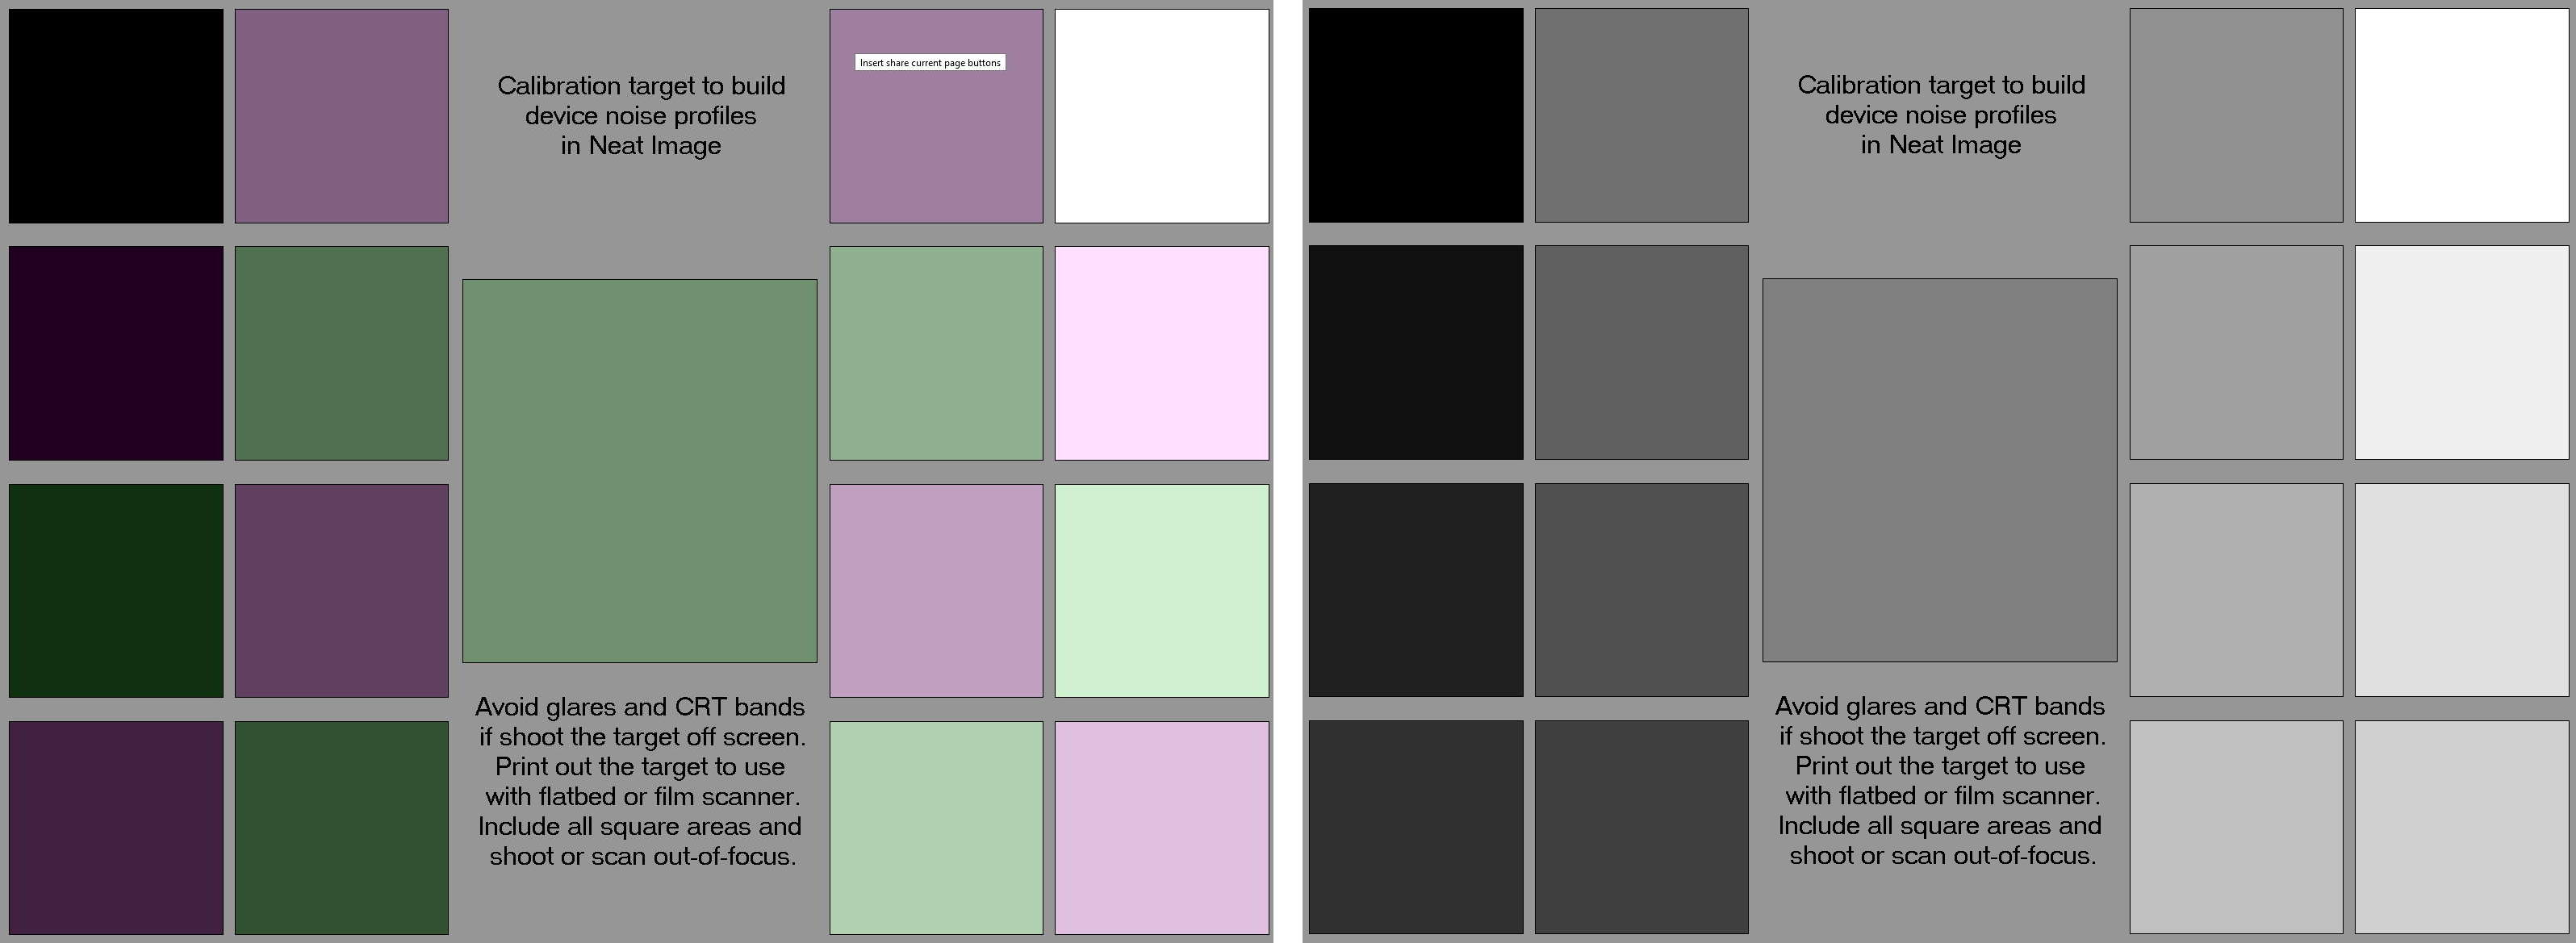
Working with the target is simple and quite straightforward. The first thing to do is printing the target. We have two versions of the Calibration Target: color version and grayscale version. Either target can be used with practically the same success. Choosing one or another usually depends on the type of printer you have.
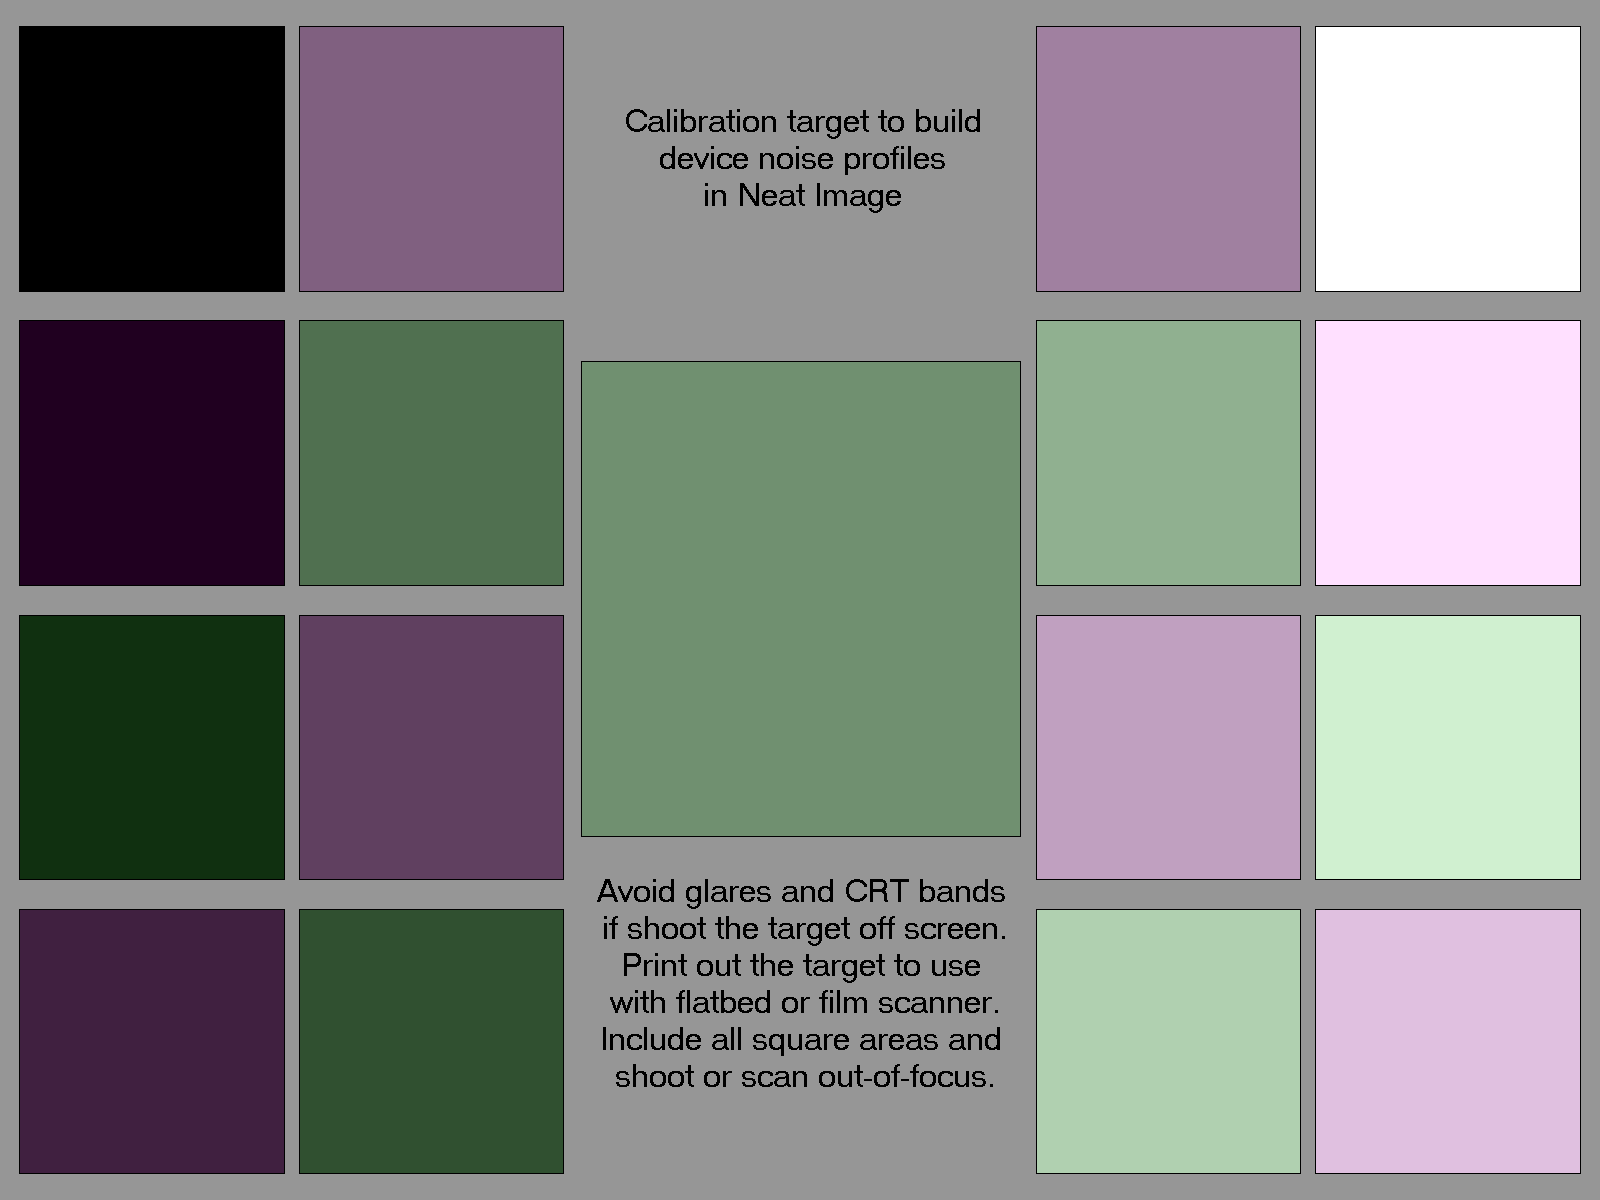
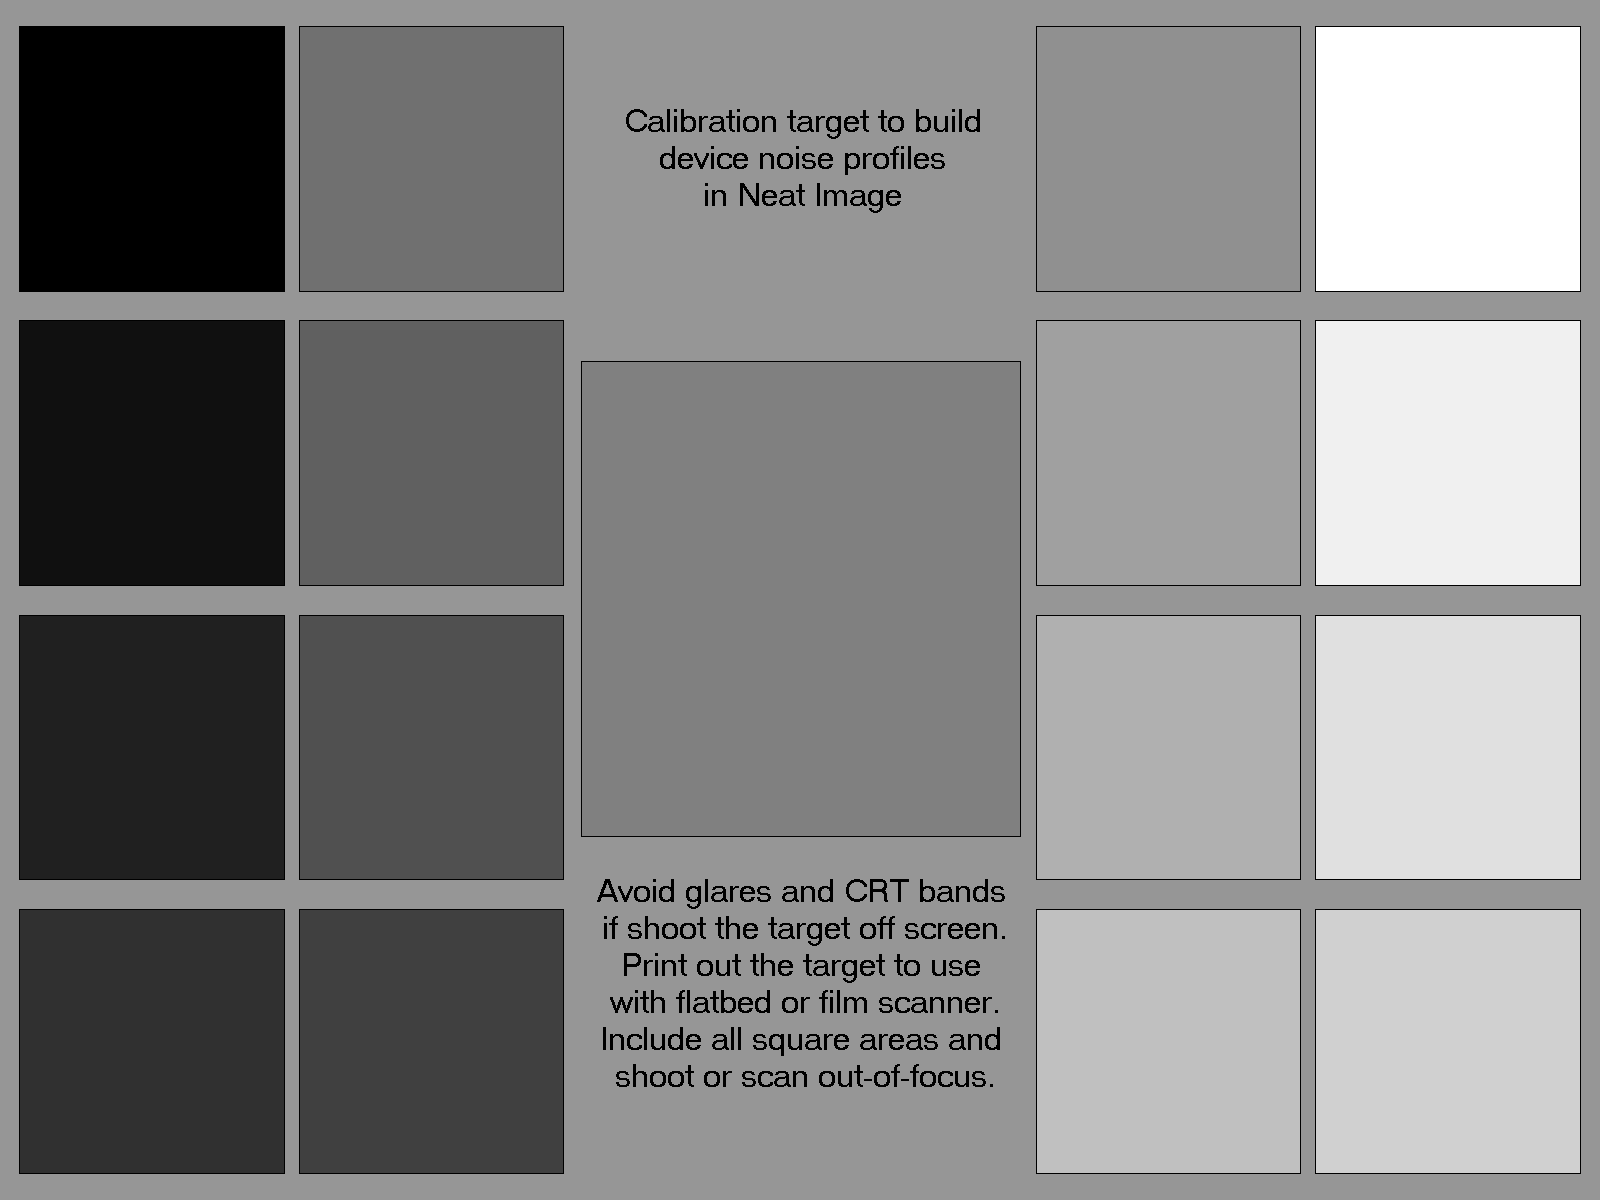
Once you have a hard copy of the target, set your camera to a certain shooting/recording mode (gain level/ISO, exposure program, codec, etc.) that you want to build a noise profile for. In order to achieve the best result with the test shot, set the focusing system on infinity (or macro) to get a slightly out-of-focus image of the printed target. Then make a 1-2 second shot of the target.
Build noise profile
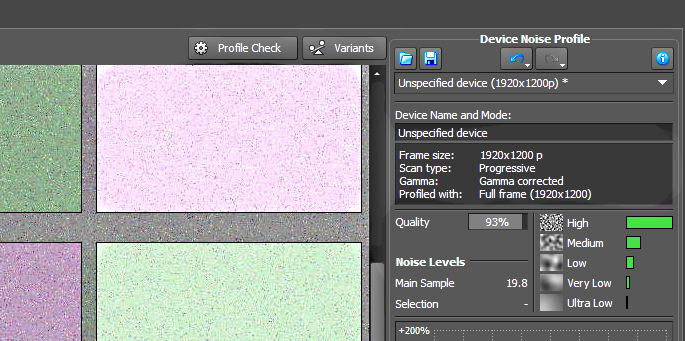
When the test shot is ready, create a test project in your editing application, bring the shot to the timeline and add Neat Image or Neat Video. Then open the plug-in’s window and build a new noise profile using the Auto Profile button. The program will select an area within the frame and analyze the noise in that area and in the rest of the target. To make sure the profile is accurate switch to the Profile Check mode. This tool will help you to check the accuracy of your profile and adjust it if necessary. Watch Building and Tuning Noise Profile tutorial below to learn how to get the best results.
Save profile to your library
Then save the noise profile to the disk.
Make sure you specify a descriptive file name (something like Panasonic-HDC-TM900-1080x50p-HighestQuality.dnp will do). All that will make it easier to choose the right profile later on.
You can create a whole library of pre-built noise profiles for your camera in this manner. Take test shots of the Calibration Target covering the camera settings (and possibly lighting conditions) that you usually work with. Once you have the set of test shots ready, proceed to build, check and save noise profiles for each of those as described above.
Keep in mind that each camera model has different noise characteristics. If you work with different cameras, then make sure you build separate sets of profiles for each camera.