How to remove dust and scratches but keep the grain?
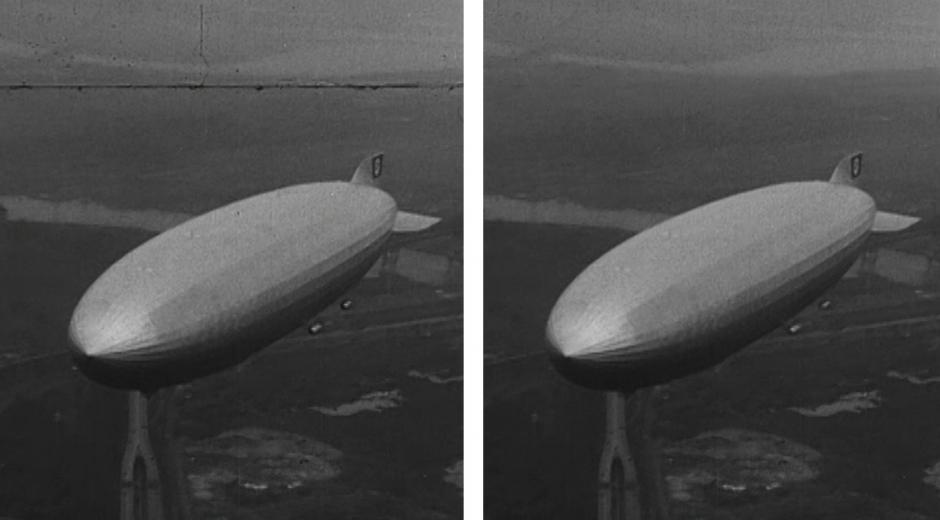
Technology isn’t just moving us forward, it also allows us to go back in time. Now we can upscale, color, clean, sharpen and completely turn around our old films. For many people recovering images and videos from the past has become a full-time job or a very rewarding hobby.
Here at Neat Video, we are glad to be one of the gears of your restoration engine.
In most cases, people who work with old films and scans want to remove dust, scratches and digital noise from archived footage at once. However, removing video noise and grain is not always necessary and depends on the quality of the original video and your personal preferences. In this blog, we’ll teach you how to split noise filter and dust & scratches filter to help you to achieve the look you are after.
Before you start adjusting anything in Neat Video, switch to the Advanced Mode. Go to Tools > Advanced Mode.
Build a GOOD noise profile
This might be counter-intuitive, but building an accurate noise profile is equally important to both noise reduction and video restoration. In order to save or remove the noise, Neat Video needs to get a sample of the noise present in the video. If Neat Video knows what sort of noise is present in the video, it will be able to distinguish between noise, details, dust and scratches and remove only noise, only dust and scratches, or both depending on your needs.
To analyze noise in one frame and in the whole clip, Neat Video needs a noise profile describing the noise properties of the clip.
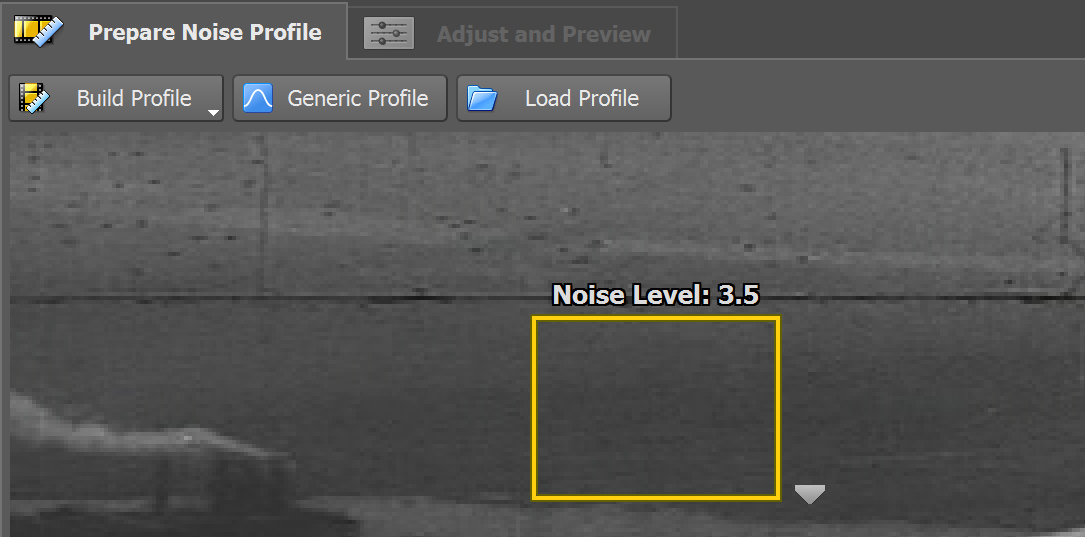
You can prepare such a profile using the Auto Profile function that will select an area the software believes to have highest amount of noise and no details. At times, you’ll bet better results if you select an area for profiling manually and click the Build Profile button. The third option is to go Generic Profile, just don't forget to adjust the Generic Noise Level slider.
Regardless of the way you build noise profile, make sure you do not include any dust/scratches into the area used for analysis. Otherwise, the quality of the final video will deteriorate.
Adjust filter settings
When you are finished with building the noise profile, switch to the Adjust and Preview tab. Here you’ll need to adjust the filter to remove Dust and Scratches and retain noise/grain.
Old films don’t just suffer from dust and scratches, but also local flicker. Reducing that flicker correctly goes hand in hand with quality filtration in old video clips. So, the first thing to do here is adjusting Local Flicker. Click Play to see the result in action. Then open the Filter Setting Check drop-down menu and select Local Flicker Check.
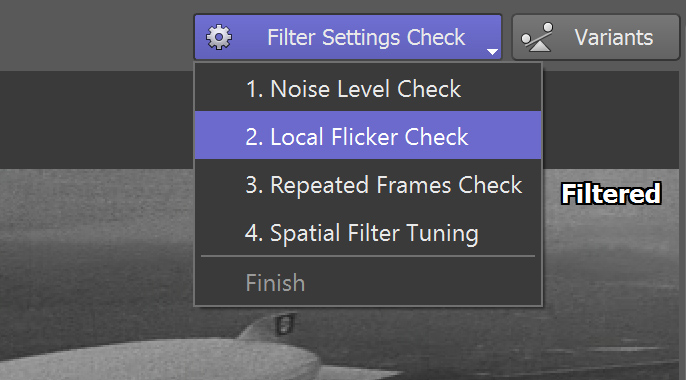
Adjust the Local Flicker slider to the point when the blue mask covers objects and people that are NOT moving. When this step is complete, click Finish.
Now you can enable and adjust the Dust and Scratches filter. Set Threshold and Amount to the levels you are happy with. Keep Dust and Scratches Mode as Normal unless it’s necessary to go more aggressive. If there are still dust and scratches left in the video, try to increase the Radius.
Disable noise reduction
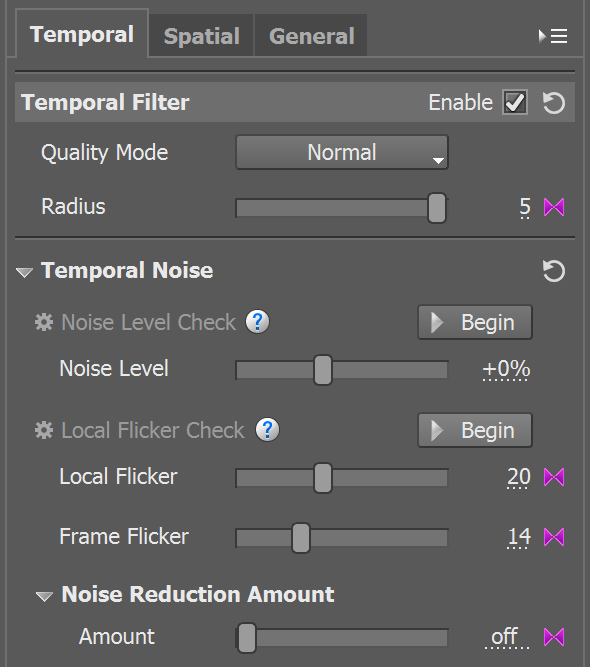
Once you have adjusted the Dust and Scratches filter, you can disable noise reduction. To do you need to set the amount of the noise is going to be removed to 0:
1. In Temporal Filter, expand the Noise Reduction amount and set the Amount to 0%.
2. Then switch to the Spatial Filter tab and set the Noise Reduction Amounts (Luminance, Cr, Cb) to 0% as well.
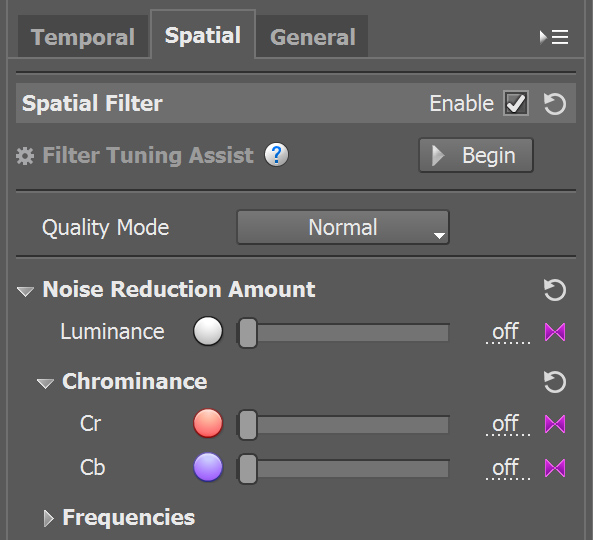
That will leave the Dust and Scratches filter active while noise reduction will not be applied. If you would like to remove only a small amount of noise, then you can play with the values of Noise Reduction Amounts.
Troubleshooting
Sometimes Dust and Scratches filter can cause fast-moving objects to disappear or get damaged. This happens because those fast-moving objects may look like dust particles to the filter. That is a current limitation of the Dust and Scratches filter which we work on and hope to get it improved in one of the future releases of Neat Video.
What you can do now? The first thing you should do is to check if the noise profile has been built correctly, using a featureless area without ANY details, and without dust and scratches (those should not be in the analysis area too). Then, check if the Temporal radius is set to 2. Then, turn Local Flicker Check on to see if the objects that tend to disappear are covered with the blue mask, they should NOT be masked here. Lastly try to lower temporal noise level, if it hasn't yet been set to 0. These four things are most helpful in keeping moving objects from disappearance.
If that doesn’t work, you might have to opt for masking the fast-moving objects using the host application masking tools. Masking those objects out would prevent the filter from touching them. This is a more time-consuming option, but making a mask track the object between frames should be able to resolve the overall problem.