In-cam vs In-post noise reduction
Digital noise appears as random pixels covering details in certain areas or the entire frame. The noise is usually caused by a range of factors including low light shooting conditions, high sensor gain, electronic noise and interference as well as aggressive compression of photo/video data. Regardless of the source, digital noise can seriously degrade the visual quality of the footage.
Video/photo with less apparent noise usually looks better. One possible way to achieve that is to use the in-camera noise reduction when available. Another option is to apply noise reduction in post-processing. It may also be possible to combine these two. Which option to choose and why? We will discuss that in this article.
Camera power vs Computer power
First off, a camera processor has limited computing power and must get the work done in a very short amount of time. It will give you a quick noise reduction result, however, the quality of that noise reduction is limited by these factors. Your computer has much more computing power and it has no strict time constraints. So it can use much more complex algorithms to identify and eliminate the noise more accurately. Therefore if the quality of noise reduction is important, then doing it in post is potentially a good idea.
The noise reduction algorithms
The simplest noise reduction algorithms used in some cameras basically smooth out the image by averaging nearby pixels. This often leads to the loss of fine details and somewhat artificial look of the image. A bit more advanced algorithms differentiate areas with details from flat featureless areas and apply stronger noise reduction in featureless areas. This produces relatively noise-free flat areas, but details, moving stuff and edges of objects remain covered in noise. Both loss of fine details and partial removal of noise do not look very good in the photo and video.
Unlike in-cam noise reduction, Neat Image's and Neat Video’s algorithms reduce noise much more accurately, preserving fine details, and do that everywhere in the frame, not just in flat areas. The process starts with analyzing noise present in the image/video and finding the noisiest areas within a frame. Once the programs know what kind of noise your image/video has, they turn on the filter and like a very fancy sieve separates that noise from the actual details. The profile-based separation allows making the entire frame clean while maintaining fine details.
Once again, if the quality is important, then it is better to reduce noise using more sophisticated algorithms available in post.
As mentioned above, in order to separate noise from the image details Neat Video needs to analyze the noise present in the video. The program analyzes the noise taken from a featureless area without details to study the characteristics and intensity of “pure” noise. If you give Neat Video a clip that has been denoised by your camera’s built-in noise reduction, and so the featureless areas are already smooth, then the profiler will analyze those smooth areas and may get a wrong idea about the noise in that video. As flat areas have very little noise after the in-cam noise reduction, the program gets a sample that is not representative of the original noise that still covers the details. The accurate separation of noise from details is not possible in this case and the final result will not look as good as it could if Neat Video was applied alone, without the preceding in-cam noise reduction.
Of course, this scenario has been taken into account when creating Neat Video and we have introduced special tools, such as Generic Profiles and Profile Check, to save a clip even if there are no suitable areas for profiling. Those tools do work really good, but an accurate noise profile that has been built for the specific video could do even better.

To make your own editing life simpler it can be easier to just disable such in-cam noise reduction and let Neat Video handle noise reduction in post without any interference.
Pain from repeated noise
Repeated noise is a condition when the noise remains the same (static and not changing) or almost the same in two or more consecutive frames while the scene content of those frames changes. Some of the reasons why repeated noise can occur include in-cam noise reduction and aggressive video compression applied by a video codec in a camera.
The presence of repeated noise can make in-post noise reduction more complicated for you: you have to spend more time tweaking the filter settings to account for the repeated noise. It is possible to deal with that problem in Neat Video (using the Repeated Frames tool) but it is just easier to get great results when you have no repeated noise, to begin with.
If you can make your camera’s noise reduction and compression less aggressive, then that can prevent repeated noise.
Amount of control
If a camera offers some control over the noise reduction built into it, usually you can only choose between, for example, heavy, medium and light noise reduction. Sometimes you have an option to switch it off completely. At times there are only two setting: ON or OFF. Some basic cameras don’t allow you to control noise reduction at all. That is easy, convenient and doesn’t require additional knowledge or experience. Such simplicity also means that there aren’t many ways to control the noise reduction applied. For example, you can’t adjust how noise in different color channels is treated. You get what you get and there is no way to back off once the photo/video is shot, since the in-cam noise reduction is already baked-in to the image/video data. On the other hand, if you can disable the in-cam noise reduction (and increase the codec bitrate to better preserve the details and noise during compression), then you still have the freedom of applying noise reduction of your choice in post. What is important, that noise reduction done in post will work better as well, since the in-cam noise reduction and codec do not mess up the noise properties so much.
Switch it Off the right way
If you are lucky to have an option to switch off the in-cam noise reduction completely, then go for it, at least try it to see if you get better results in the end. Unfortunately, not all cameras allow to do that. Some cameras only allow to choose the amount of noise reduction applied, without a possibility to switch it off completely. In such a case choose the lowest amount of noise reduction possible. Consumer-grade cameras often don’t provide any way of controlling the in-cam noise reduction. If that is the case, then leave the noise reduction as it is and check if you can adjust bitrate.
Bitrate is the amount of bandwidth used to encode the photo/video data. A higher bitrate means more bandwidth and higher resulting accuracy of encoding. Setting the bitrate for example x2 higher than the default of your camera can dramatically improve the detail preservation and avoid repeated noise as well. Using higher bitrate essentially makes the image/video codec less aggressive.
Your camera may not always offer a direct way to adjust the bitrate used by the camera’s image/video codec. The built-in software may not offer such an option, but there may be third-party software tools that may be able to adjust the bitrate.
As mentioned earlier, aggressive compression can create problems such as repeated noise and detail loss. When you suspect that this is happening to your photos/video, try changing the codec or its settings to avoid or minimize repeated noise and loss of details.
Bottom line
To make your images and video look better try (1) to decrease or disable the camera noise reduction and (2) to increase the bitrate of the emaige/video codecs, if these options are offered in your camera. These measures can better preserve the original image/video data and help the post-processing tools such as Neat Image and Neat Video deliver better results faster and easier for you. Compare the results obtained in this scenario with those produced by the camera using the default settings and choose what you prefer.
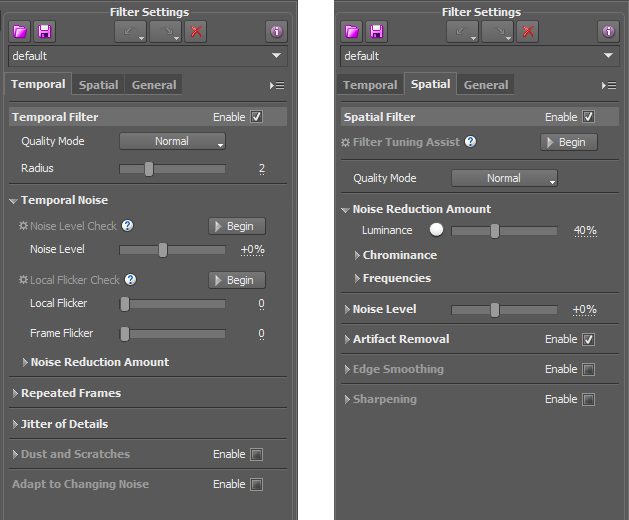
Neat Image and Neat Video can be adjusted to your own liking. You can decide how much noise you want to remove if you prefer more or less noise in the luminance or color channels to be preserved. Also, both filters help you to fine-tune the noise profile for more accurate denoising. The noise reduction done in post-production can always be disabled if necessary. Even if the filtered clip has already been exported, you can go back to the edit, turn the denoiser off or re-adjust it and do another export. You have this option when the noise is kept intact by the camera.
In-cam noise reduction is a quick way to deal with noise in the image/video. However, it can reduce the quality of your image/video: you may lose some of the fine details. In-cam noise reduction and codec can also make it harder to remove the residual and repeated noise left behind.
Neat Video and Neat Image as in-post denoisers will take some of your time for adjusting filters and rendering, but the quality of the final product will be better. It can also help with flicker, jitter of details and some other problems you may run into, so you will be able to get a few birds with one stone.
We believe that it is better to use Neat Image and Neat Video instead of in-cam noise reduction to have your shots neat and noise-free. Try that and make your own choice.