Tips to avoid more noise and get better results

Noise reduction might seem like magic, but there’s no secret mystery to achieving silky smooth video. In fact, sometimes simple changes can make a big difference to the end result. Here’s a few tips that will help you get those enchanting moving pictures.
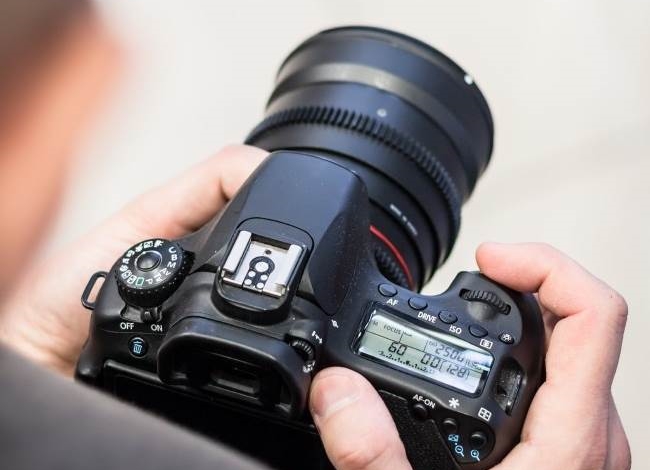
1. Get ready BEFORE you shoot
If you can capture video with little noise in the first place, the result will be far better in the end. The first step to noise-free video is to set up your scene and your camera to avoid digital noise.
-
Check your ISO settings. Ensure that your camera’s sensor gain is set for the conditions you’re shooting in. High ISO is more likely to cause noise. It is better to increase the light in the scene and reduce the ISO.
-
Set your camera’s video codec to record the maximum quality possible. The more information collected by the camera, the better Neat Video will do its work. So whenever possible, choose the highest bitrate to capture the best quality image.
-
If possible, print out and shoot Neat Video’s ‘Calibration Target’. This is a special pattern for calibration purposes. You can download it here and find detailed instructions on how to use it, here. This will allow you build a good noise profile while editing. If you don’t have one, you can shoot any featureless object or area.
- Switch off in-camera noise reduction. It does more damage than good, so disable your camera’s NR if possible.
2. Build more accurate noise profiles
The better the noise profile, the more accurately Neat Video will perform - removing more of the noise and retaining more of those glorious details. With a good noise profile even default filter settings work great, while a poor one will mean spending a lot of time trying to get a better result. Here’s some tips to building an accurate noise profile.
-
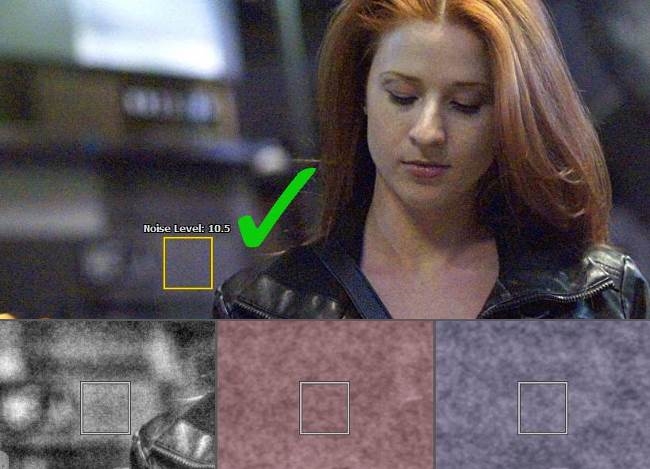
Choose the noisiest frame you can find. This might take a while, but it’s worth it. Check the whole video. Quite often the noisiest frames can be found in those parts of a clip where the camera performed an auto-focus, or light correction.
-
Once you have picked a frame and opened Neat Video’s user interface, you’ll see Neat Video presents you with a selection of frames before and after your chosen frame and gives you a noise level for each. From these, you can more accurately select the one with the strongest noise.
- Always assess the area selected automatically by the Auto Profile. In most cases, it will give you a good end result, but sometimes it’s tricky for Auto Profile to select the best area to build a noise profile. That’s when manual selection of the area will be required. It may be especially tricky to find an area for profiling in color channels due to the way these are processed by in-camera noise reduction and compression. In fact, sometimes these channels don’t contain noise, but feature compression artefacts like square blocks. In this case, select an area with as many artefacts as possible, but with no noticeable true details.

Area is not uniform in Y channel. Skin always contain fine details such as pores, hair etc.
Uniform area without details in any channel.
Use Noise Level Tuning Assist to make sure that the noise level in the profile is accurate so that Neat Video can remove noise while preserving details. If you’re still not sure, watch our video tutorial on how to build noise profiles. It covers the most important points. Once you master profiling, you will be able to build a good noise profile in less than a minute. Watch our tutorial for more details.
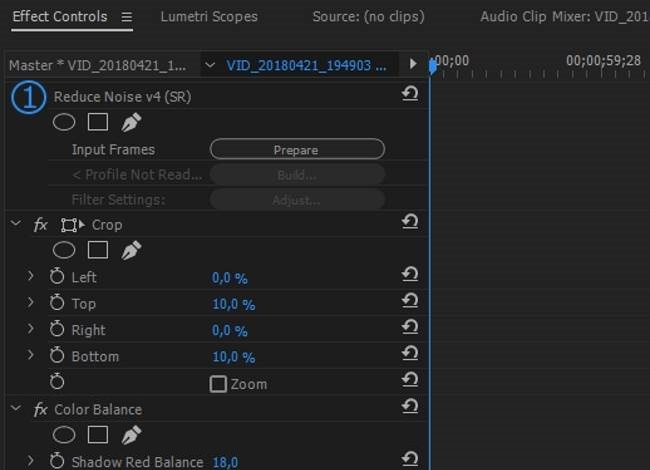
3. Apply noise reduction BEFORE other edits
Neat Video works best on original clips because things like video effects and filters change the characteristics of noise and make it much more difficult for Neat Video to handle it. In addition, some effects may interfere if the noise reduction is applied later in the editing process. So, it is better to apply Neat Video as a first step. As an additional measure that will help reduce banding and improve video quality, enable 32bpc (bits per channel) mode within your host application (where available). This will further avoid data loss and facilitate more accurate processing.
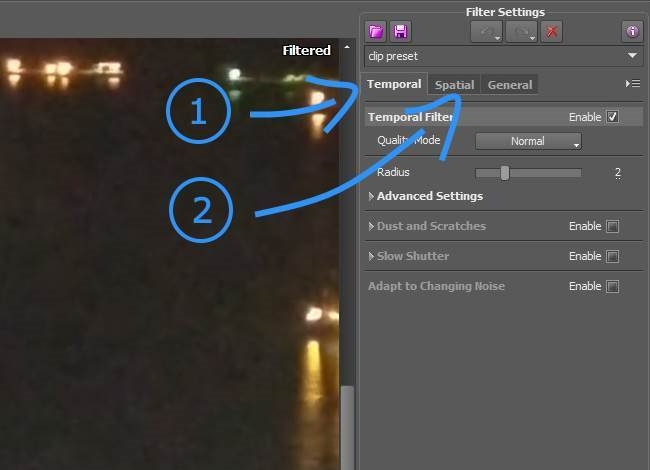
4. Tune temporal noise reduction before spatial
Neat Video uses two types of noise reduction to achieve its results. These are Temporal and Spatial noise reduction. Temporal Noise Reduction compares details across a number of sequential frames, while Spatial compares nearby pixels within one frame to distinguish noise from details. Due to the way Neat Video works, it is better to adjust the Temporal filter first and check the results.
If you are still not satisfied, switch to the Spatial filter tab and adjust these settings. Be careful not to overdo it though, or your video may lose sharpness and begin to look plastic.
5. Treat the Luminance channel with care
While adjusting the Spatial Filter be careful when dealing with noise in the Luminance channel (Y). Our eyes are much more sensitive to luminance details than color details, so overdoing noise reduction on the luminance channel tends to result in an overly smooth "plastic" looking image. That’s why Neat Video’s default settings are somewhat conservative when it comes to Luminance filtration in order to deliver natural-looking balanced results. Always check the preview in the Luminance channel when building a noise profile or adjusting filter settings.
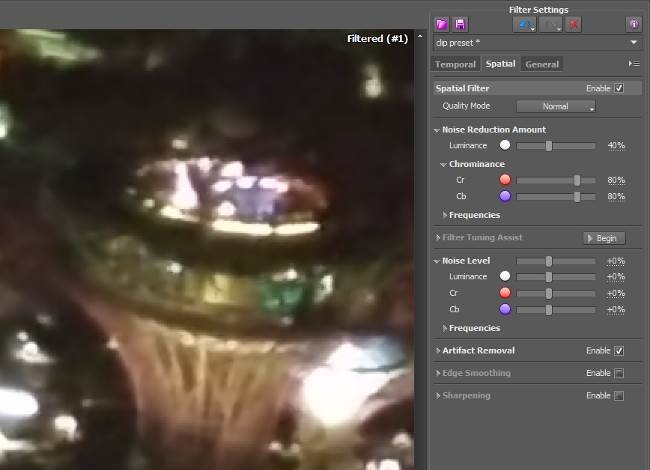
Default settings.
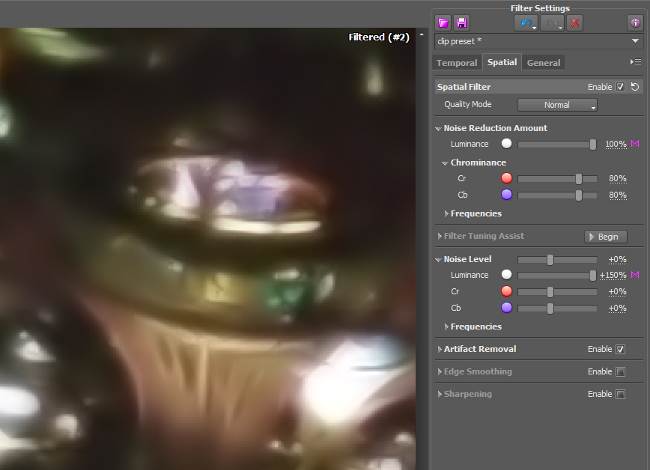
Aggressive filtration in Luminance channel.
6. Less is more
Video and images look more natural when the right amount of noise is removed, leaving just enough so it does not start to look artificial. So, go easy. Keep in mind that final compression will ruin some of the details in the video, so you do not want to contribute to that.
However, consider what devices your content will appear on. Will it be a mobile phone or 4k monitor? The smaller the screen and lower the resolution the more noise reduction can be applied.
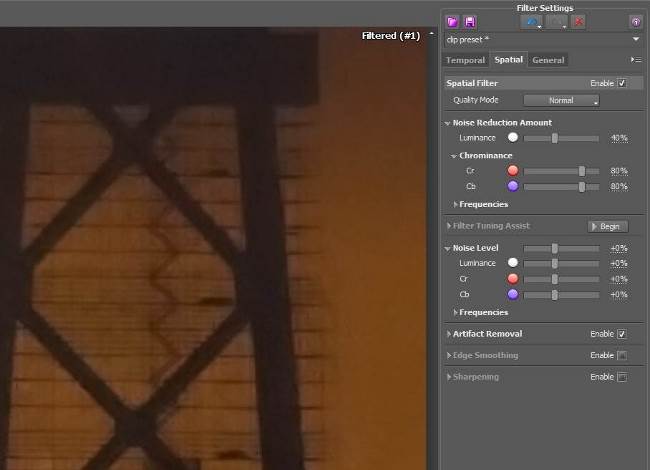
Default settings.
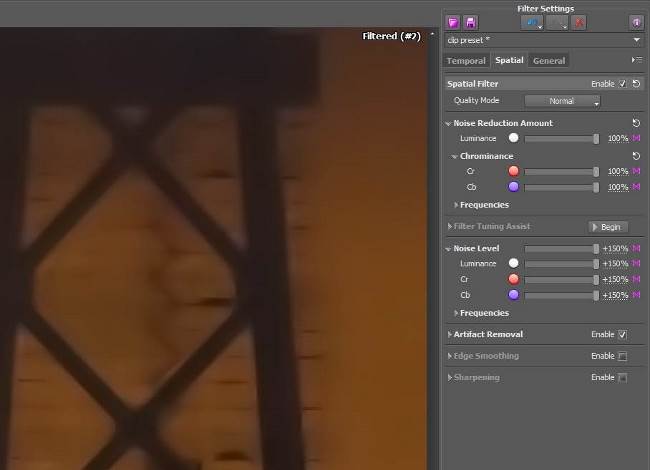
Aggressive filtration in all three channels.
7. Beware of banding
Sometimes video that looks great after noise reduction looks different after lossy video compression is applied. Often, large featureless areas become sharply delineated with lanes of slightly different colors and lose the natural transition from one shade to the next. This effect is called banding. To avoid this, one approach is to keep some of the original noise in the output clip. The presence of noise prevents the output codec from introducing the banding. Neat Video has two filters presets that do this for you. You can find them in the "Banding in processed video" group of pre-defined presets. Alternatively, you can try adding a fine level of artificial noise. Lastly, you could also adjust the output settings on your video codec if possible and make the compression less aggressive.

What’s next?
- Do you know how to denoise video faster? You just need to use the resources you've got in the right way. Read our next article and you'll learn the tricks!